
December 23rd, 11 p.m., three years ago: I was on the living room floor with forty unopened rolls, one pair of scissors hiding under the couch, and a paper grocery sack standing in for a tape dispenser. Seven gifts in, I ran out of tape. The gifts got wrapped by 2 a.m. — badly, and I still remember which ones. That was the last year wrapping happened on the floor in one heroic, terrible night.
The fix wasn’t willpower, it was engineering. A real wrapping station — even a 3-foot stretch of dining table with a rolling cart beside it — turns thirty gifts from a deadline crisis into a production line you run for twenty minutes a night. This list covers the setup, the supply math nobody writes down, and the assembly-line tricks that make gift number 29 look as good as gift number 1.
Table of Contents — 15 Ideas
- The surface: height and size decide everything
- Light the station like a workbench, not a mood board
- Store paper rolls vertically, cut side up
- Kraft paper: the one roll that does everything
- Ribbon math: 100 feet covers 30 gifts
- Tape is the real consumable — buy it in threes
- One caddy, everything arm’s-reach
- A tag system that skips the pen hunt
- Wrap boxes first, odd shapes last
- One color system beats five pretty rolls
- The embellishment bin: free greenery does the work
- A staging shelf for finished gifts
- The deadline math: 30 gifts in 10 evenings
- A kid wrapping zone saves the adult station
- The January reset: store it wrapped
1. The surface: height and size decide everything
| Work surface | Height | Clear zone needed | Best for |
|---|---|---|---|
| Kitchen island | 36 in | 36 x 24 in | Full station |
| Dining table | 30-36 in | 36 x 24 in | Boxes + ribbons |
| Card table | 28 in | 36 x 24 in | Short sessions |
| Card table + riser | 33-34 in | 36 x 24 in | Back-friendly wrapping |
The surface: height and size decide everything
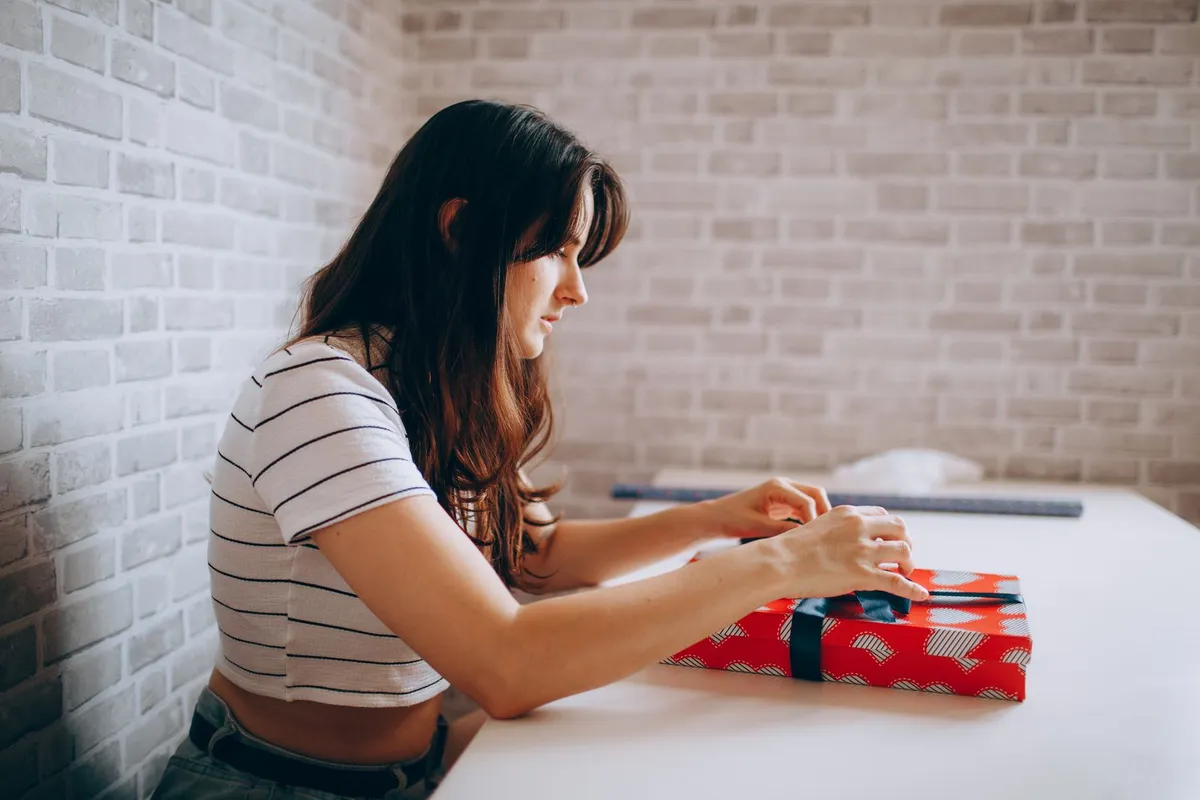
Floor wrapping fails because you hunch, and hunched wrapping is crooked wrapping. The working height for taping and tying is counter height — 36 inches — which is exactly what your kitchen island or dining table already is. A card table at 28 inches works, but add a cutting board or a lap desk on top and your back will notice the difference by gift ten.
Size rule: you need a work zone at least 36 inches wide by 24 inches deep — big enough for a roll of paper to unroll its full width plus a gift box beside it. Anything smaller and you’re repositioning every gift three times. If the table has to stay usable for dinner, the rolling cart (idea 7) is the whole mobile station; park it, wrap, roll it into the closet.
2. Light the station like a workbench, not a mood board
Light the station like a workbench, not a mood board
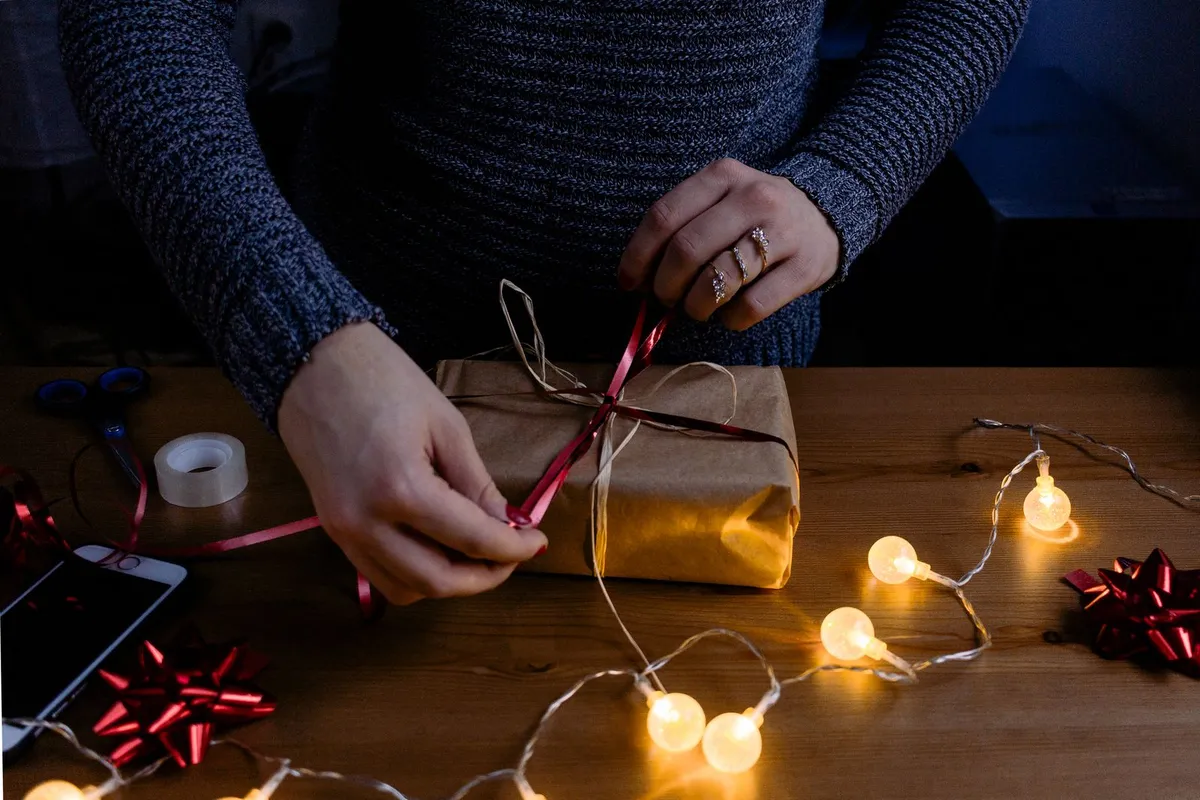
Crooked seams are invisible in dim light and obvious in daylight photos, which is why every badly wrapped gift is discovered on December 25th. You need one task light aimed across the work surface — not behind you, where your own shadow covers the tape line. A clip-on desk lamp, a swing-arm floor lamp, or simply pulling the table under a bright ceiling fixture all work.
The bonus layer, once the work light is handled: string lights around the station’s edge or a small lit tree nearby (we keep one going all December — see our small Christmas tree ideas for tiny apartments). Wrapping thirty gifts is a ten-hour seasonal job, and ten hours feel entirely different with the tree glowing in view. Work light for accuracy, fairy light for morale — they’re not in conflict.
3. Store paper rolls vertically, cut side up
| Storage method | Rolls held | Access | Typical cost |
|---|---|---|---|
| Tall basket | 8-12 rolls | One-hand pull | $15-$30 |
| Umbrella stand | 6-10 rolls | One-hand pull | $10-$25 |
| Under-bed zippered organizer | 25-40 rolls | Divided pockets | $20-$35 |
| Loose horizontal bin | 5-8 rolls | Tangles every pull | $10 or free |
Store paper rolls vertically, cut side up
A bin of horizontal rolls is a jumble: every pull unrolls three other rolls, and by December 20th the paper is creased where it shouldn’t be. Vertical storage — a tall basket, an umbrella stand, or a dedicated wrapping paper organizer in the closet — keeps every roll visible from above and pullable with one hand. The standing rule: gift-side up, so you can see every pattern without unrolling anything.
Sort the vertical bin by family of color (see idea 10), and park the current roll outside the bin while a wrap session is live — the open roll goes back only when the session ends. That one habit ends the “where did the kraft go” hunt that eats more wrapping time than the actual folding does. No closet height for a vertical bin? A zippered under-bed organizer keeps 25–40 rolls flat, dust-free and in one pull-out place — the horizontal jumble problem only happens to loose rolls, never to divided pockets.
As an Amazon Associate, we earn from qualifying purchases.

- Holds 25–40 rolls up to 40" long — every roll visible and pullable one-handed
- Three side pockets for gift bags, ribbon spools and tools, two with secure flaps
- Zippered, dust-proof, slides under a bed or onto a closet shelf; collapses flat in January
Price and availability shown on Amazon; listing may change.
4. Kraft paper: the one roll that does everything
| Roll | Size | Gifts wrapped | Price range |
|---|---|---|---|
| Base kraft roll | 30 in wide, 100 sq ft | ~20 gifts | $10-$20 |
| Accent roll | 30 in wide, 30 sq ft | ~6 gifts | $5-$10 |
| Narrow kraft roll | 17-18 in wide | Books + small items | $4-$8 |
| Patterned bonus roll | 30 sq ft | 2-3 feature gifts | $5-$12 |
Kraft paper: the one roll that does everything
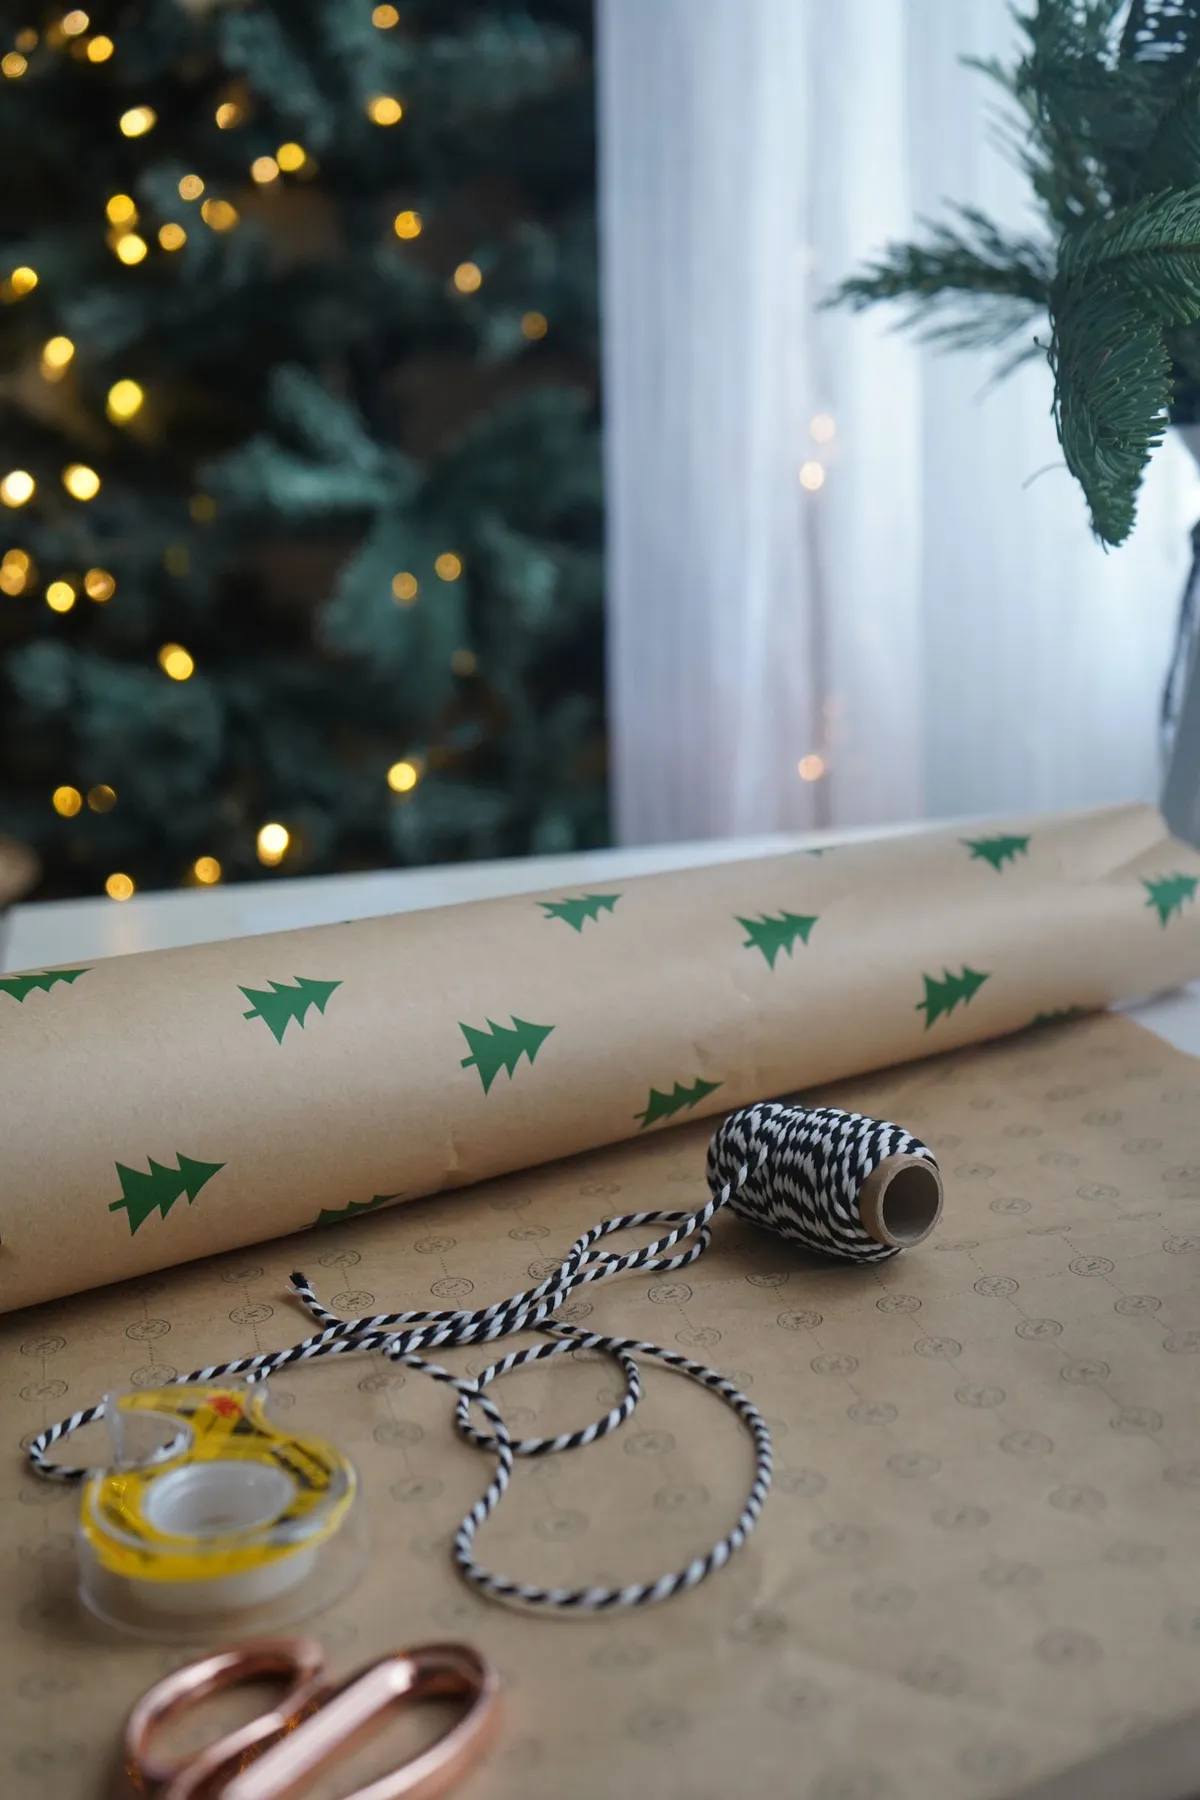
Patterned paper is fun; kraft paper is strategy. A 30-inch-wide kraft roll covers every box in the house — from a watch to a bread machine — it photographs beautifully with any ribbon color, it doesn’t date, and it’s the cheapest paper per square foot on the shelf. Every professional-looking gift wrap you’ve pinned was probably kraft with good ribbon and a sprig of greenery.
The system: kraft as your base roll (buy 100+ square feet — see the math table below), then two or three patterned rolls maximum for the gifts that deserve them. Five coordinating rolls cover thirty gifts far better than fifteen mismatched ones, because coordinating paper means any leftover ribbon works on any leftover gift — no orphan supplies at the end.
5. Ribbon math: 100 feet covers 30 gifts
| Ribbon type | Width | Feet for 30 gifts | Best use |
|---|---|---|---|
| Wired ribbon | 1.5-2.5 in | 50-60 ft | Bows that hold shape |
| Narrow satin | ~10 mm | 30-40 ft | Tight clean knots |
| Natural twine | 2-3 mm | 40-50 ft | Neutral kraft gifts |
| Curling ribbon | 3-5 mm | 20-30 ft | Kid zone only |
Ribbon math: 100 feet covers 30 gifts
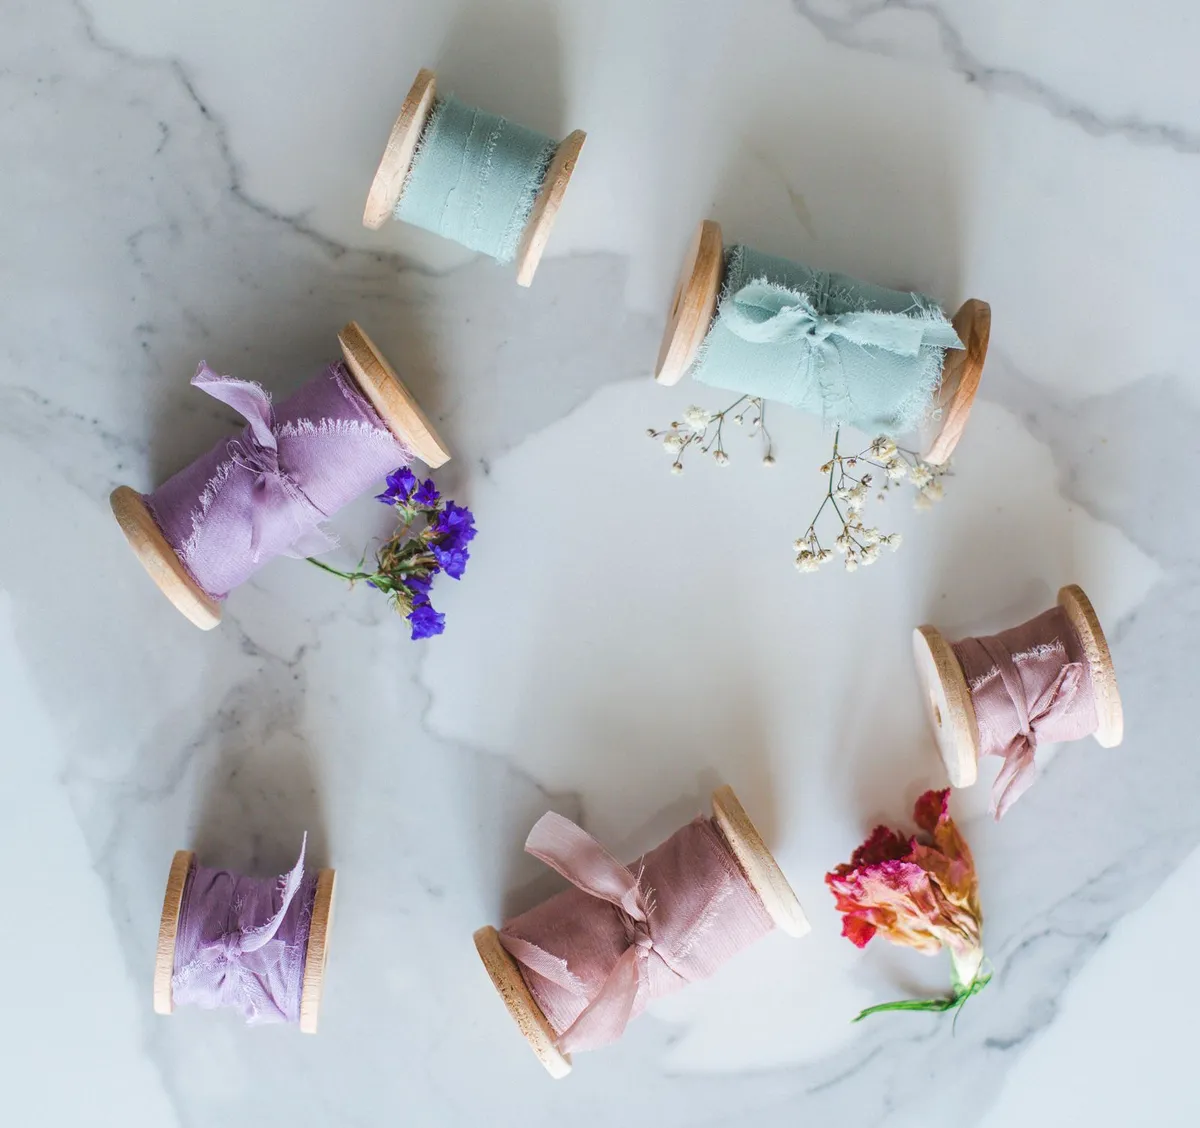
The working number: one gift needs about 3 feet of ribbon — a full wrap-around plus the bow — so thirty gifts takes 90–100 feet, or one standard spool plus change. Wired ribbon is worth the premium for anything over 2 inches wide: it holds the bow shape through the car ride to grandma’s, where curling ribbon arrives looking like it lost an argument. Narrow satin (about 10 mm) is the other exception — it ties tight, clean knots without any wire at all.
Run two ribbon families, not six: one neutral (natural twine or cream) that works on every kraft gift, and one statement color that ties the whole tree’s look together. Cut all your ribbon lengths at the start of a session — production line style — instead of per gift; batch-cutting thirty 3-foot lengths takes ten minutes and kills the mid-wrap scissors hunt permanently.
As an Amazon Associate, we earn from qualifying purchases.

- 20 colors × 5 yards = 100 yards (300 ft) — triple the 30-gift ribbon math in one box
- 2/5-inch satin width ties clean, tight bows on kraft, tags and greenery sprigs
- Reds, burgundy, gold, cream and neutrals — both ribbon families covered for one palette
Price and availability shown on Amazon; listing may change.
6. Tape is the real consumable — buy it in threes
| Tape item | Quantity | Price range | Why it matters |
|---|---|---|---|
| Clear tape rolls | 3 rolls x 25 yd | $2-$4 per roll | 30 gifts eat ~3 rolls |
| Cutting-edge dispensers | 1 per station | $5-$12 each | One-hand strip and tear |
| Matte invisible tape | 1-2 rolls | $3-$6 per roll | Seams hidden on kraft |
Tape is the real consumable — buy it in threes
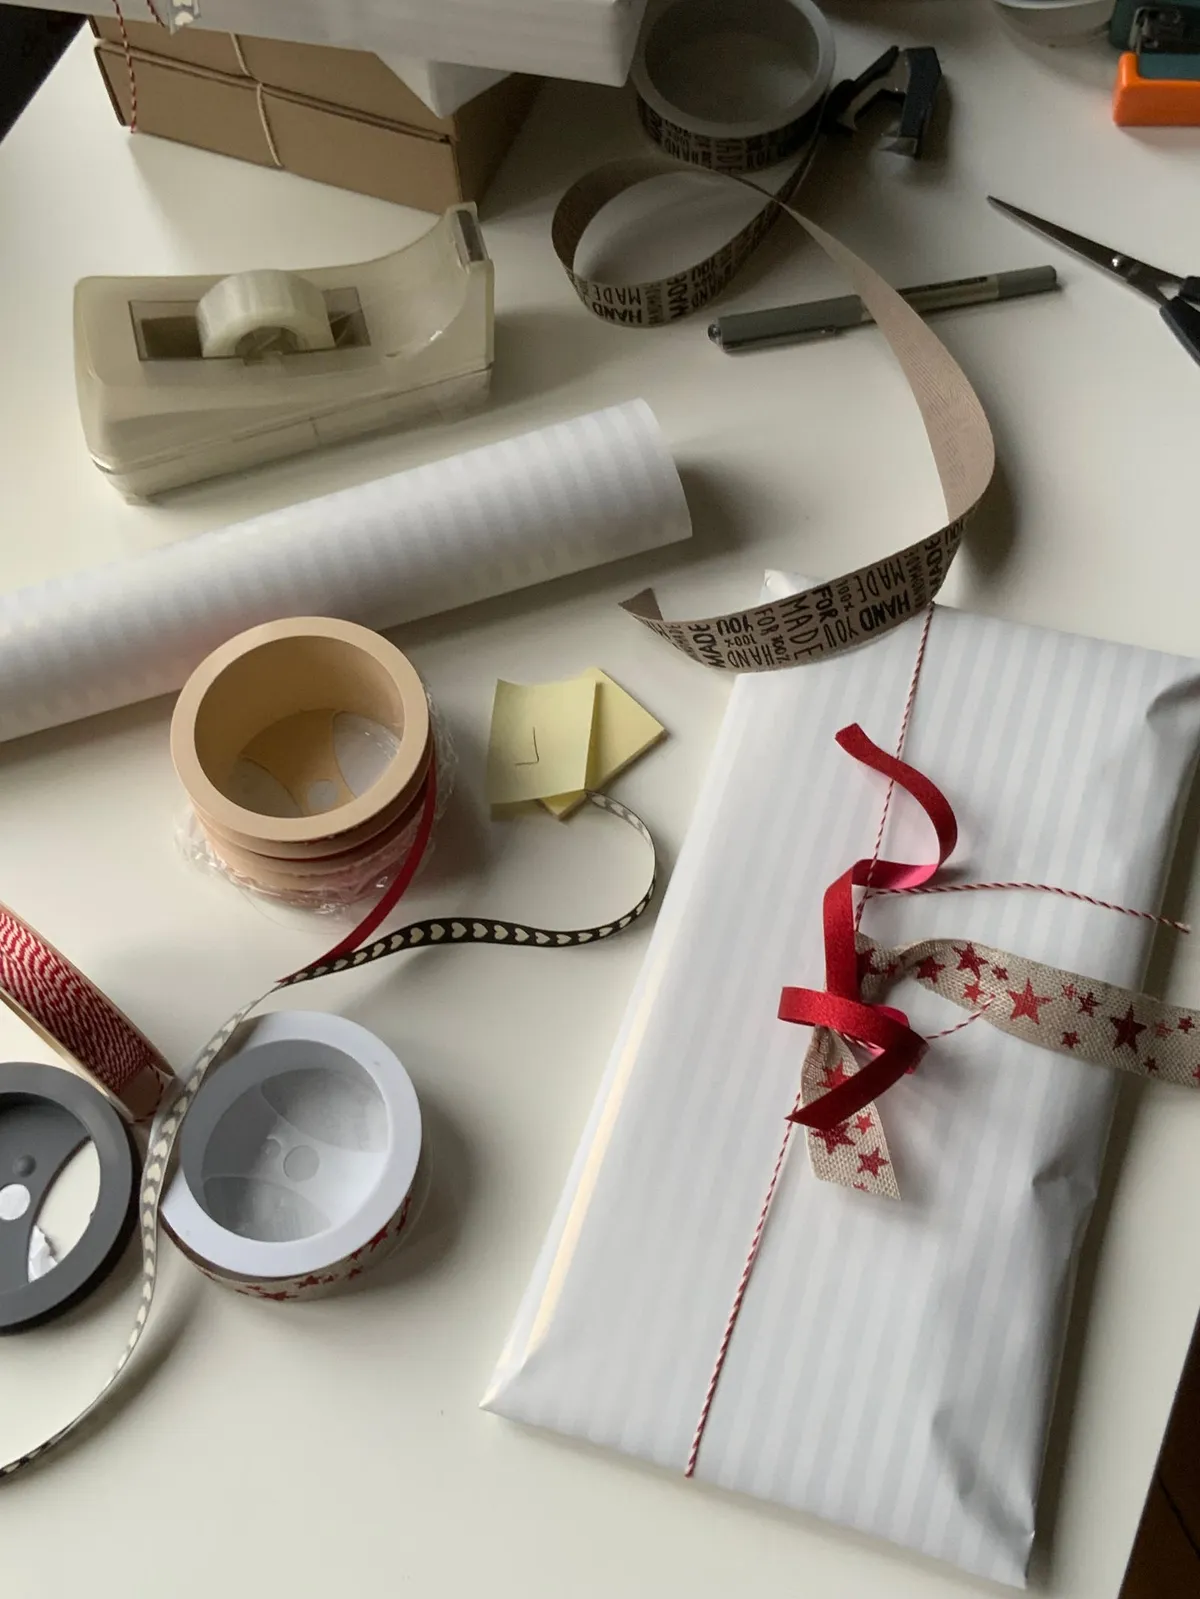
Wrapping runs out of tape before it runs out of paper: thirty gifts eats roughly three full rolls, because every seam, every tag and every ribbon anchor costs a strip. Buying one roll guarantees the December 23rd crisis; buying three clear dispensers means the station never stalls. Clear tape only — the matte “invisible” kind shows seams less on kraft and doesn’t yellow by morning.
The upgrade that saves real time: one tape dispenser with a cutting edge per station, plus a pen taped to it (see idea 8). Dispensers cost almost nothing and turn the most repetitive motion in wrapping — strip, tear, press — from a two-hand fumble into a one-hand pull. If you’ve never wrapped with a proper dispenser, this is the single biggest upgrade on the list.
7. One caddy, everything arm’s-reach
| Shelf | Holds | Quantity guide |
|---|---|---|
| Top shelf | Scissors, 2-3 tape dispensers, pen, tags | 1 caddy of tools |
| Middle shelf | Current ribbon spools, 2 families | 2-4 spools |
| Bottom shelf | Kraft boxes in 3 sizes, gift bags | 10-15 boxes |
One caddy, everything arm’s-reach
The test of a real station: without standing up, can you reach paper, tape, scissors, ribbon, tags and pen? A rolling cart with three shelves does this perfectly — top shelf the caddy of tools (scissors, dispensers, pen, tags), middle shelf current ribbon spools, bottom shelf boxes and bags. A shower caddy or a toolbox works identically if you’re stationless; the point is one container that goes where the table is.
Keep the caddy loaded all December, not just for wrap sessions. When one gift needs wrapping on a Tuesday night, the difference between “two minutes” and “twenty minutes of setup” is whether the caddy is already stocked — and that difference decides whether gifts get wrapped as they arrive or pile up for the Christmas Eve marathon.
As an Amazon Associate, we earn from qualifying purchases.

- Weighted non-skid base and sharp blade: true one-hand strip-and-tear at the station
- Replaceable hub holds 1"-core tape up to 0.75" wide and 1,500" long (tape sold separately)
- 100% recycled plastic, 2.7 × 6.4 inches — sized for the caddy’s top shelf
Price and availability shown on Amazon; listing may change.
8. A tag system that skips the pen hunt
A tag system that skips the pen hunt
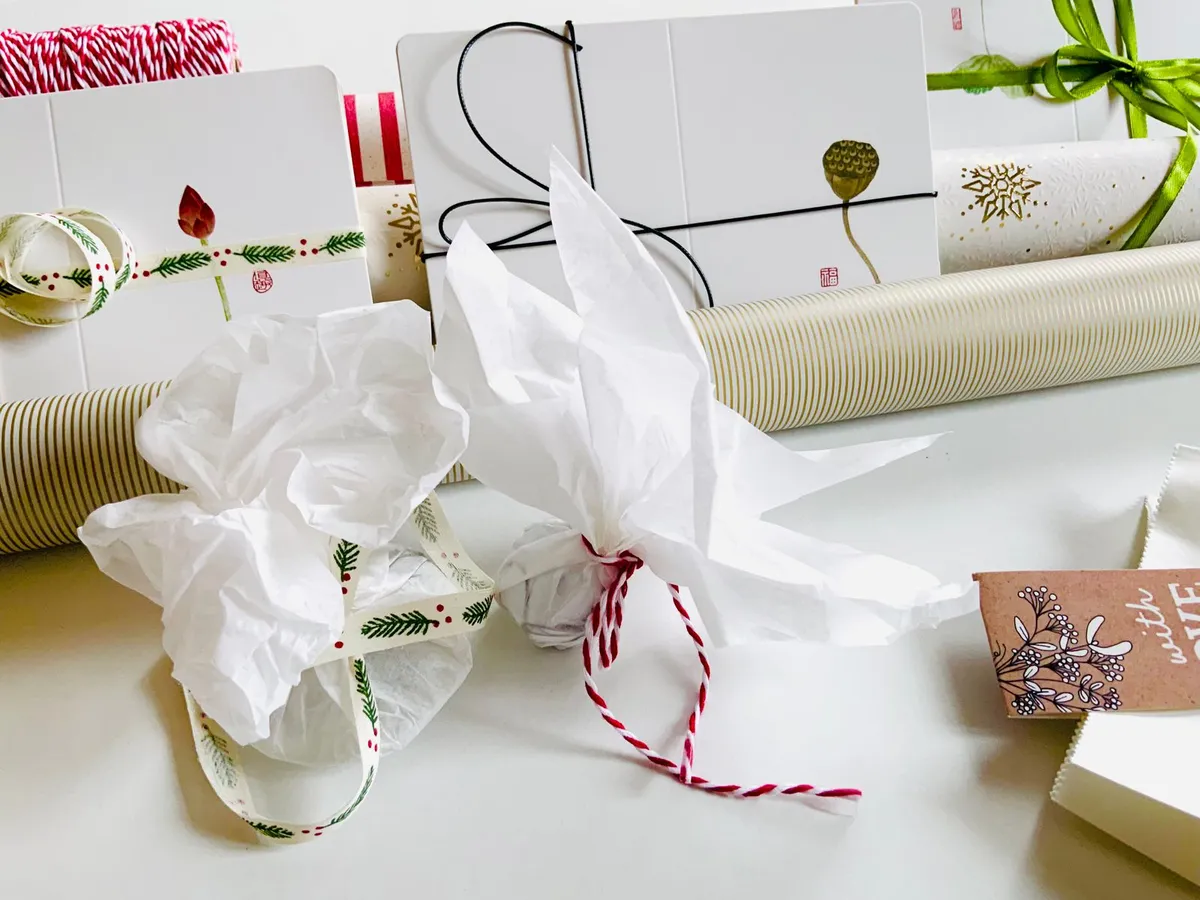
Tags fail in two ways: you can’t find a pen when the gift is finished, or you can’t remember which gift was whose after the bow went on. Fix both with a pre-loaded tag kit in the caddy — tags, one marker, and a small binder clip or twine loops — plus a number system for the sneakier gifts: tag them 1, 2, 3 and keep the key in your phone’s notes app. No name in plain sight, no midnight guessing games.
Batch-write the tags before the season: family names, “Open Dec 1st,” “Do not open until Christmas” — the recurring ones — written and clipped to the caddy’s edge. On wrap night, tagging becomes a grab-and-clip instead of a stop-and-think, which is exactly what keeps an assembly line moving.
9. Wrap boxes first, odd shapes last
| Wrap order | Gift type | Time per gift | Why here |
|---|---|---|---|
| 1st | Boxed gifts and books | ~4 min | Fast momentum |
| 2nd | Soft goods, bagged first | ~5-6 min | Wrap like boxes |
| 3rd (last) | Odd shapes | ~8 min | Box or roll-wrap |
Wrap boxes first, odd shapes last
Assembly-line order matters more than wrapping skill: boxes and books first — they stack, they tape fast, and momentum builds — then soft goods (clothes wrap like boxes if you bag them first), and the true weirdos (bikes, lamps, the stuffed giraffe) dead last, when your standards have gracefully lowered. A session that starts with the bicycle never starts at all.
The box trick worth adopting year-round: keep a stash of plain Kraft boxes in three sizes. Odd-shaped gifts go into a box, and a box is a five-gifts-in-twenty-minutes job. The $15 of boxes converts your ten hardest gifts into ten easy ones — cheaper than any gift bag habit and far better looking.
10. One color system beats five pretty rolls
One color system beats five pretty rolls
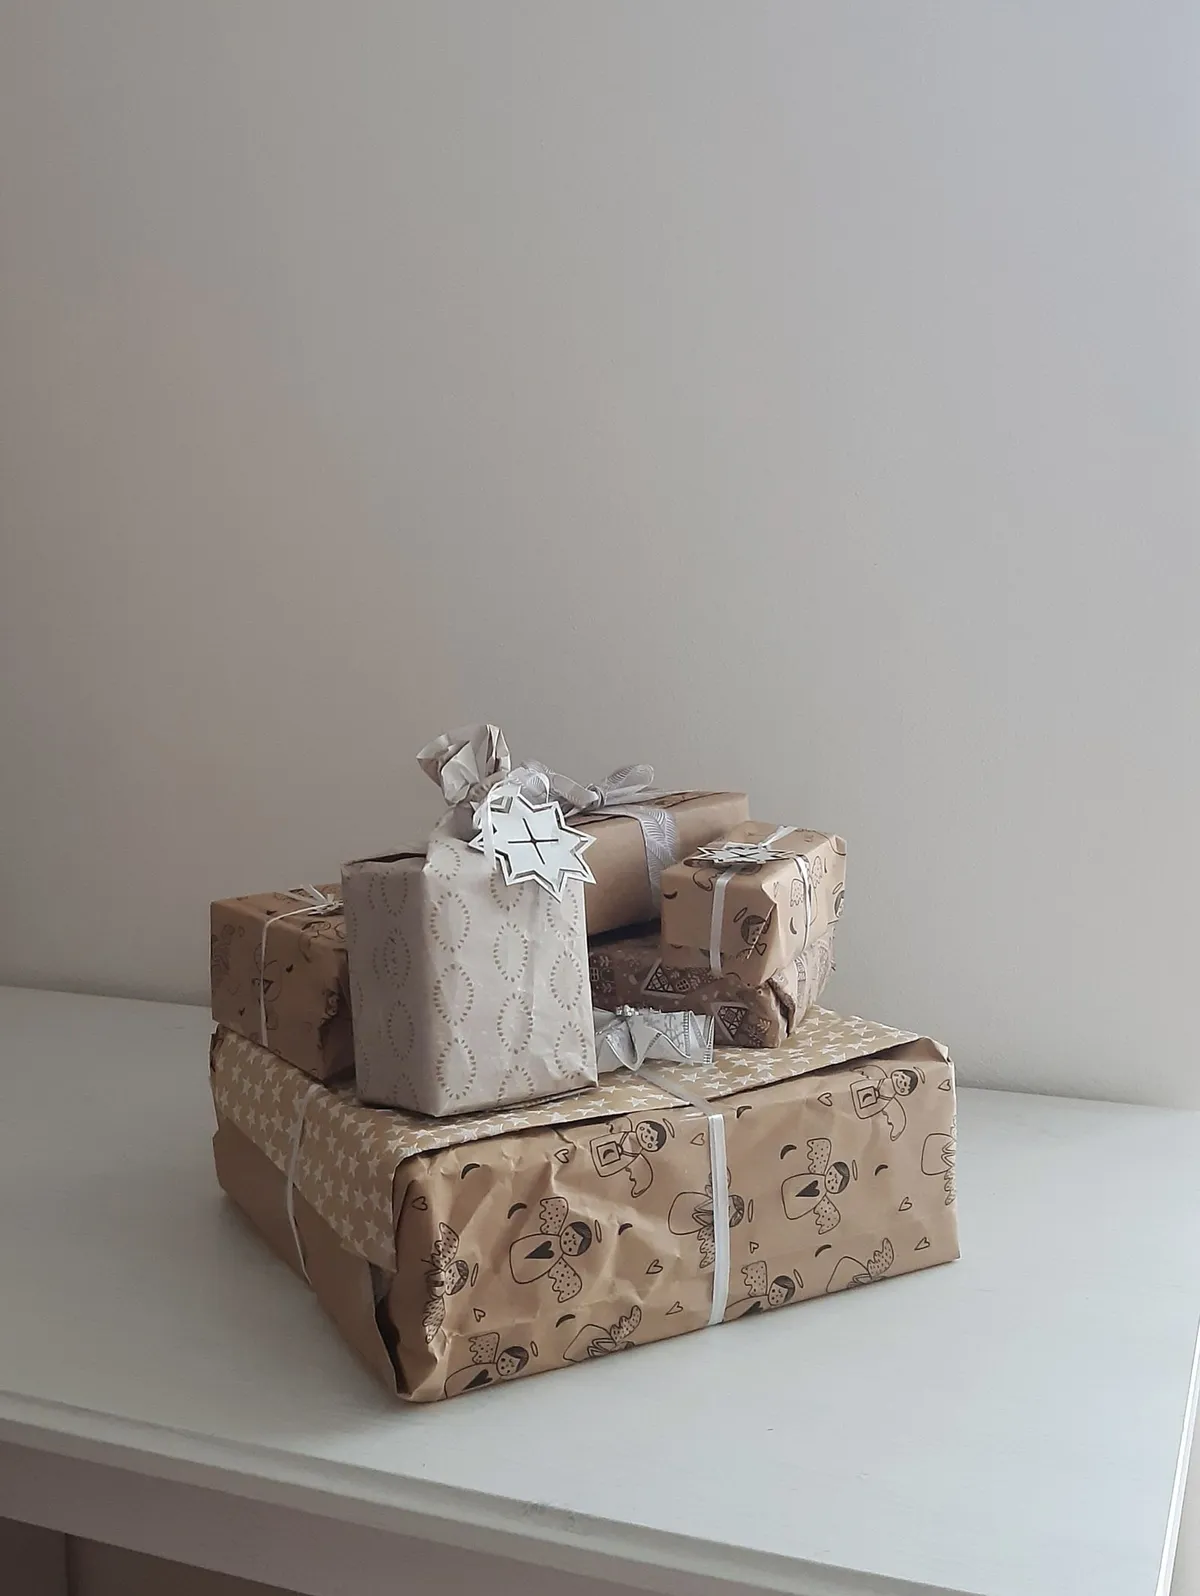
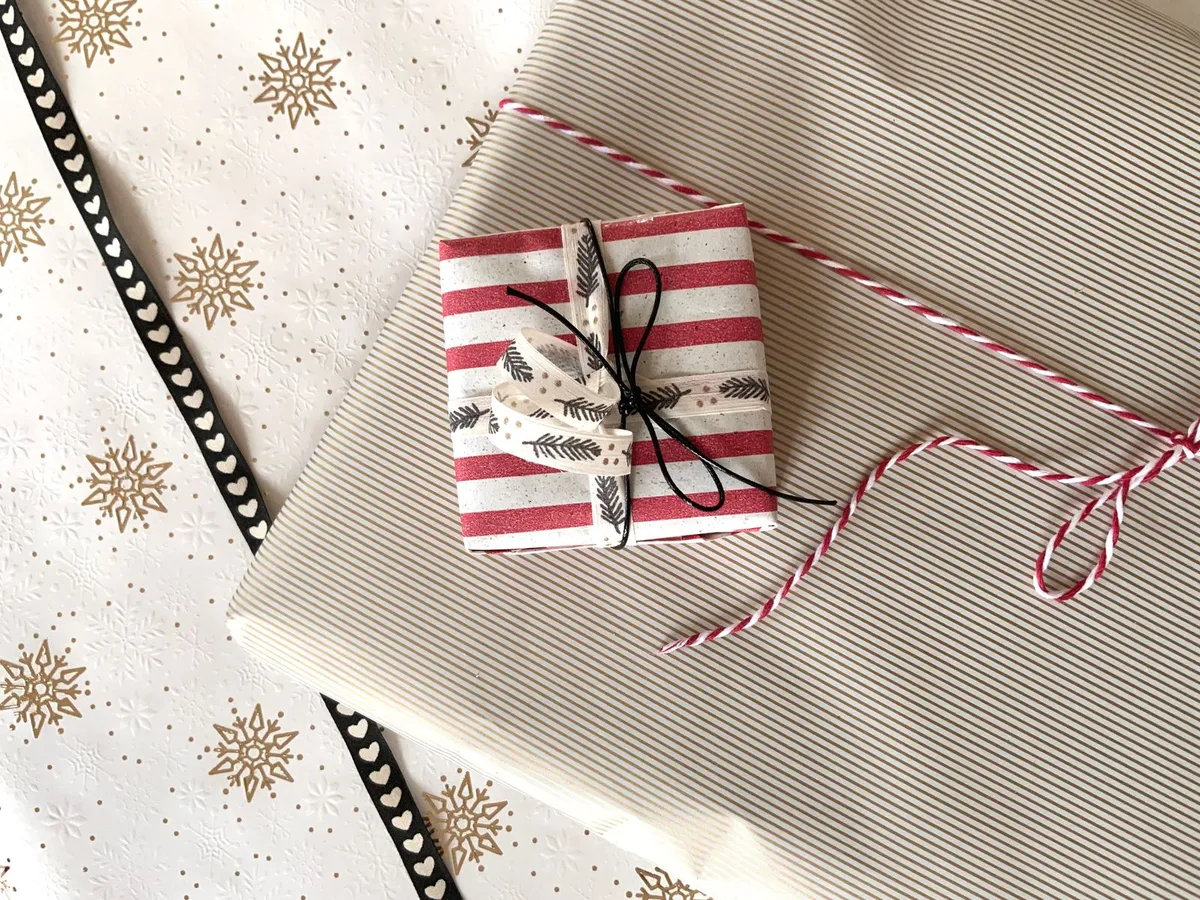
Pick a two-paper, two-ribbon palette before you buy anything: kraft + one pattern, natural + one accent. Every gift under the tree then coordinates automatically, which is what makes home-wrapped presents look “professional” — it’s never the folding, it’s the cohesion. A tree skirt of thirty gifts in one palette photographs like a magazine; thirty clashing patterns photograph like a garage sale.
The palette also halves your supply math: any ribbon works on any paper, any embellishment matches any gift, and leftovers at the end of the season actually carry over to next year instead of dying in a drawer. Buy the palette once, stop buying paper every December — the system pays for itself by year two.
11. The embellishment bin: free greenery does the work
| Embellishment | Prep | Cost for 30 gifts |
|---|---|---|
| Pine sprigs | Trim from yard or tree lot | Free |
| Dried orange slices | 3 oranges, 200 F oven, 2 hrs | ~$3 |
| Cinnamon sticks | Bundle 2-3 with twine | $5-$10 a bag |
| Berries | Cut into short clusters | Free to $5 |
The embellishment bin: free greenery does the work
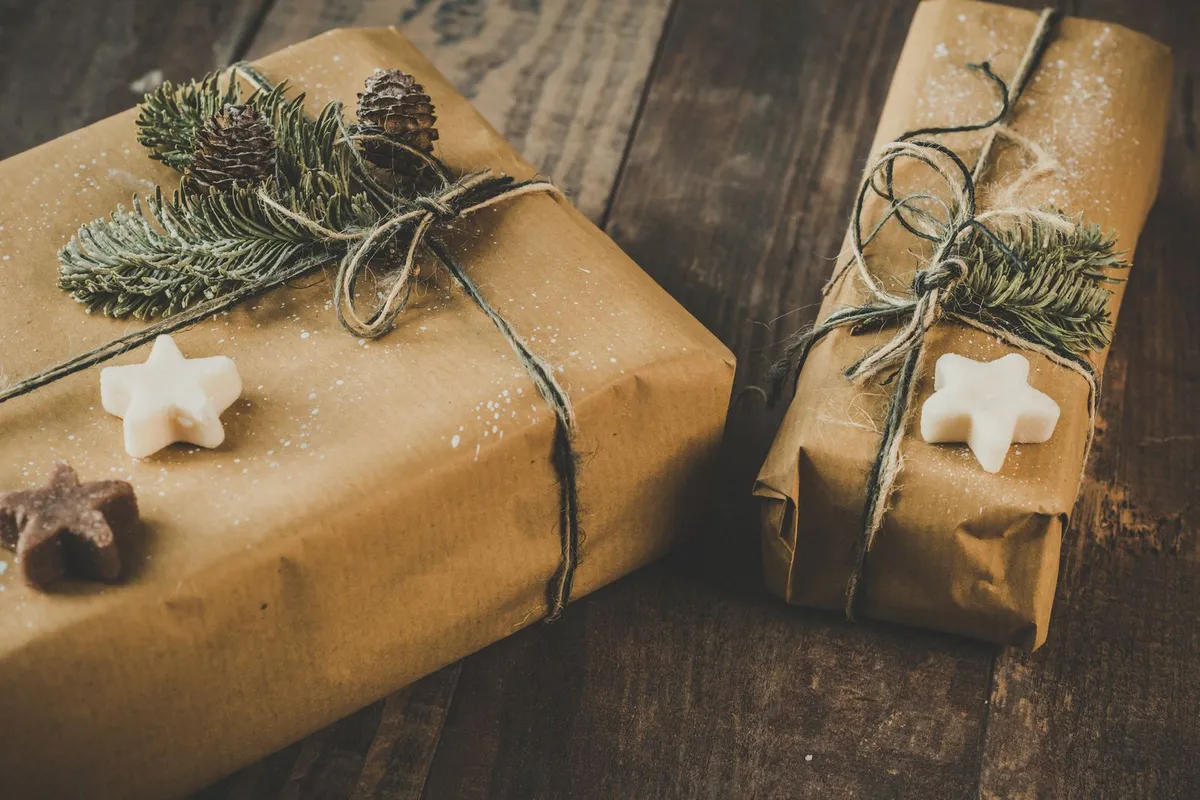
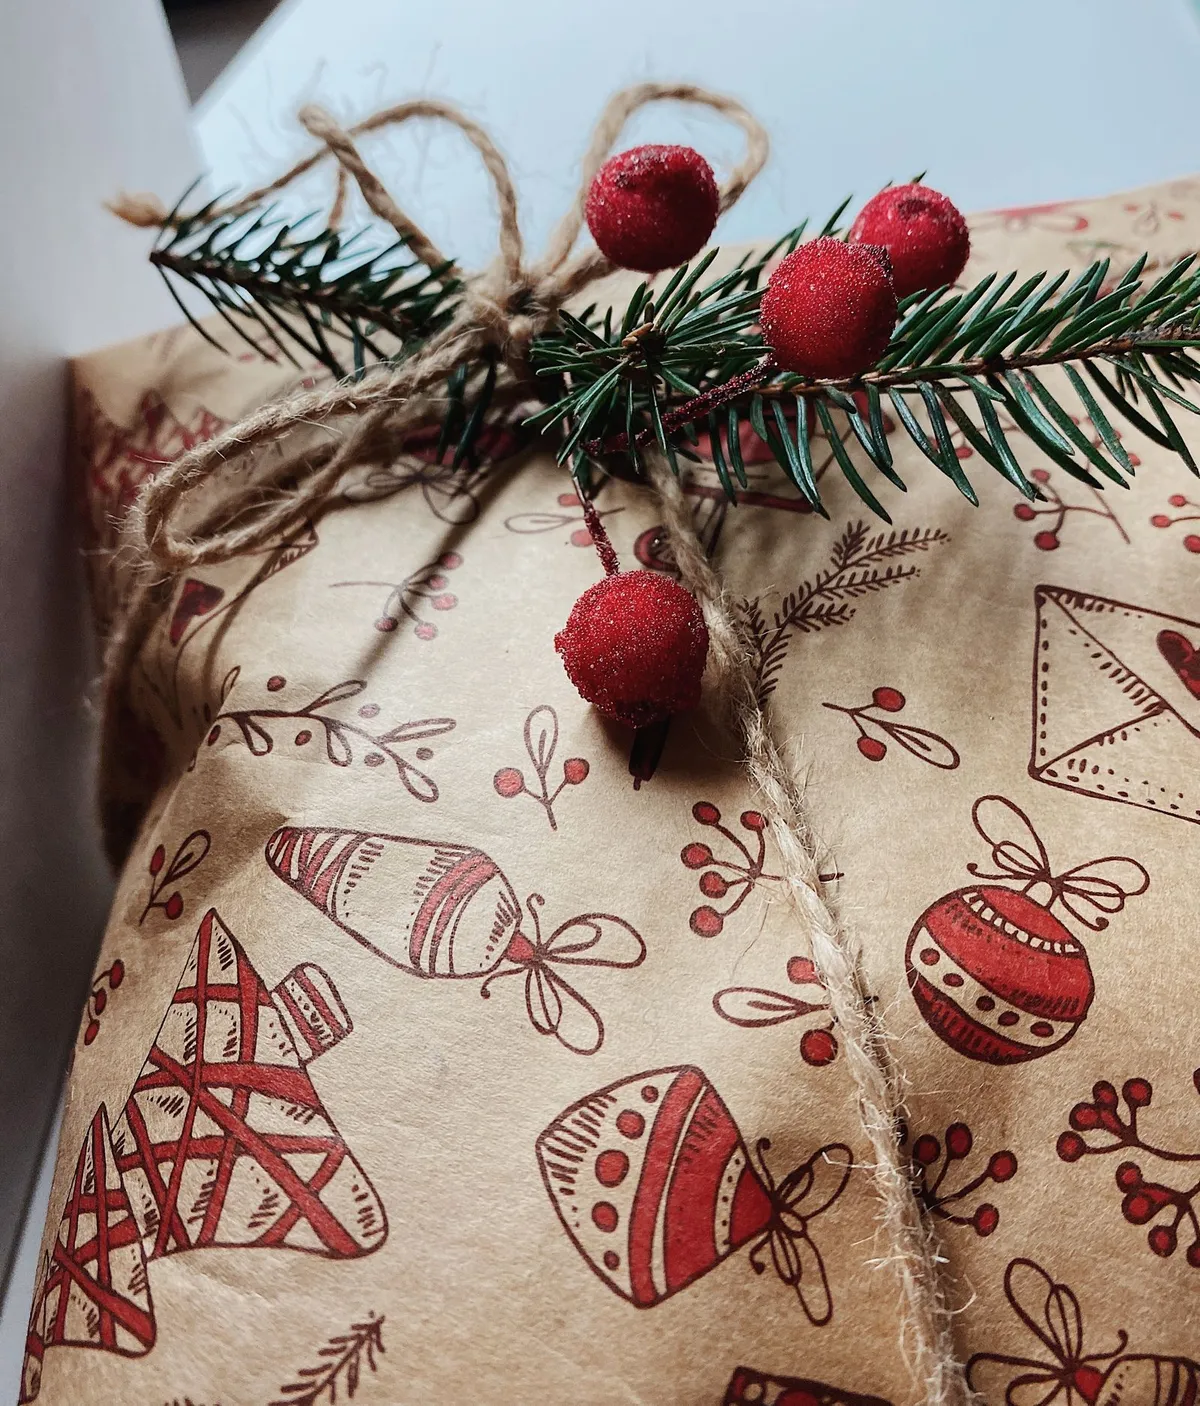
The detail that makes kraft look designed is almost free: a bin of pine sprigs, dried orange slices, cinnamon sticks and berries, gathered from the yard (the same trimmings trick we use in our Christmas porch decorating ideas) or from the tree lot’s discard pile. One sprig under the ribbon knot turns plain paper into “oh, this is lovely” — and a ten-minute December afternoon gathering session stocks the whole season.
Keep the bin small and by the station: embellishments that live in another room never make it onto gifts. Slice three oranges and dry them in a 200°F oven for two hours in early December, and you have thirty slice-toppers that smell like the season and cost nothing. Cinnamon sticks bundled with twine are the second-cheapest upgrade, right after the sprigs.
12. A staging shelf for finished gifts
A staging shelf for finished gifts
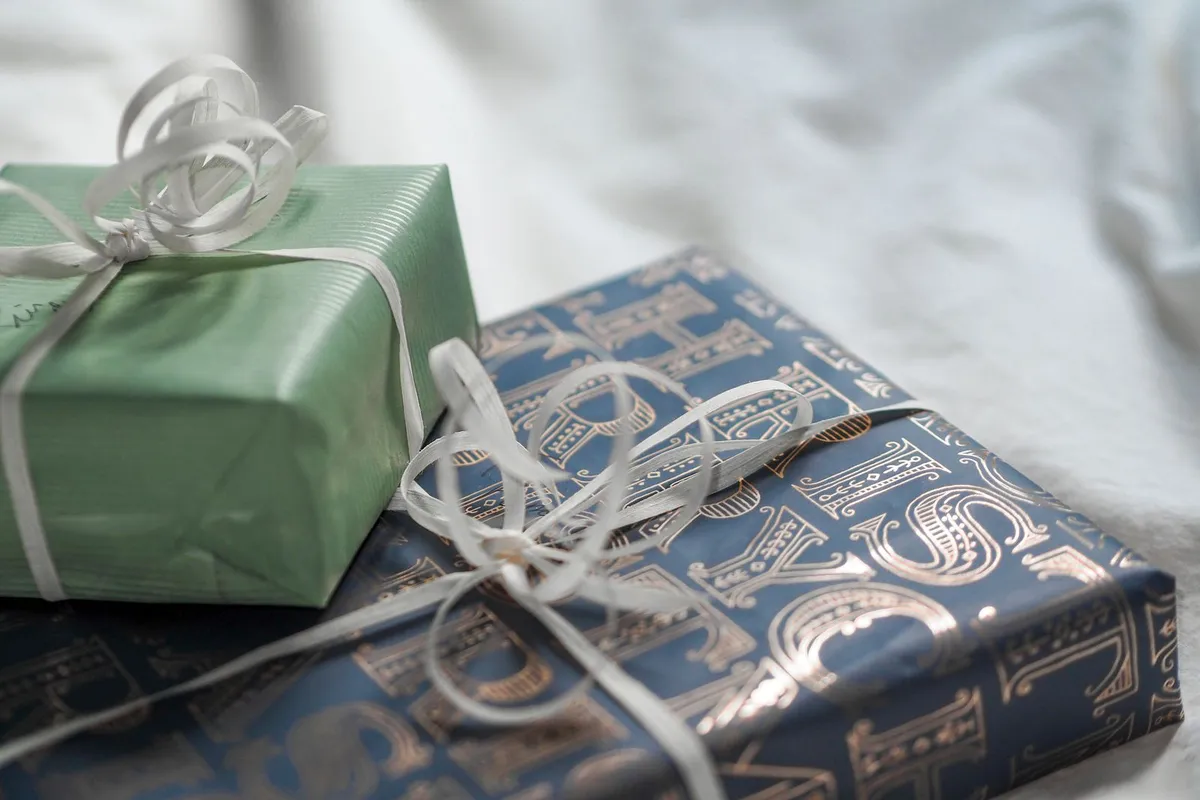
Finished gifts that pile beside the station get re-bumped, re-creased and re-hidden; gifts need a one-way flow. Assign a staging zone — a shelf, a suitcase under the bed, the top of the wardrobe — and move every finished gift there immediately, stacked largest to smallest. The station stays clear for the next session, and the growing stack becomes a quiet progress bar you can actually see.
Two staging rules keep it working: everything tagged before it leaves the station (idea 8), and the zone’s location stays secret from the household’s sharpest snoopers. A labeled tote under the bed beats a pretty pile under the tree for exactly this reason — the pile is discoverable, the tote is furniture.

13. The deadline math: 30 gifts in 10 evenings
| Evenings | Gifts per evening | Type | Time per night |
|---|---|---|---|
| 1-5 | 3-4 | Boxed gifts | ~15 min |
| 6-8 | 3-4 | Soft goods | ~20 min |
| 9-10 | 2-3 | Odd shapes + fancy finishes | ~25 min |
The deadline math: 30 gifts in 10 evenings
A stocked station wraps a box gift in about 4 minutes and a soft or odd gift in 8 — so thirty gifts is roughly three hours of table time. Spread across ten evenings that’s 20 minutes a night, which is a normal human amount; compressed into December 24th it’s the floor-and-tape-dispenser disaster from my opening story. Start when the first gift arrives home, not when the calendar panics.
And save the last evening’s energy for the gifts that deserve it: the good paper, the wired ribbon, the hand-lettered tag. The first ten gifts of the pipeline were wrapped while you were fresh; the elegant finish on the final few keeps the whole season’s work feeling deliberate instead of diminishing — gift number 30 should look like the best one.
14. A kid wrapping zone saves the adult station
| Kid zone supply | Spec | Price range |
|---|---|---|
| Pre-cut paper squares | 18 x 18 in, from roll ends | Free |
| Hand-tear tape | Paper-lined, no scissors | $3-$6 |
| Kid scissors | Blunt tip | $3-$5 |
| Glue sticks and stickers | 2-3 sticks + sticker stash | $4-$8 |
A kid wrapping zone saves the adult station
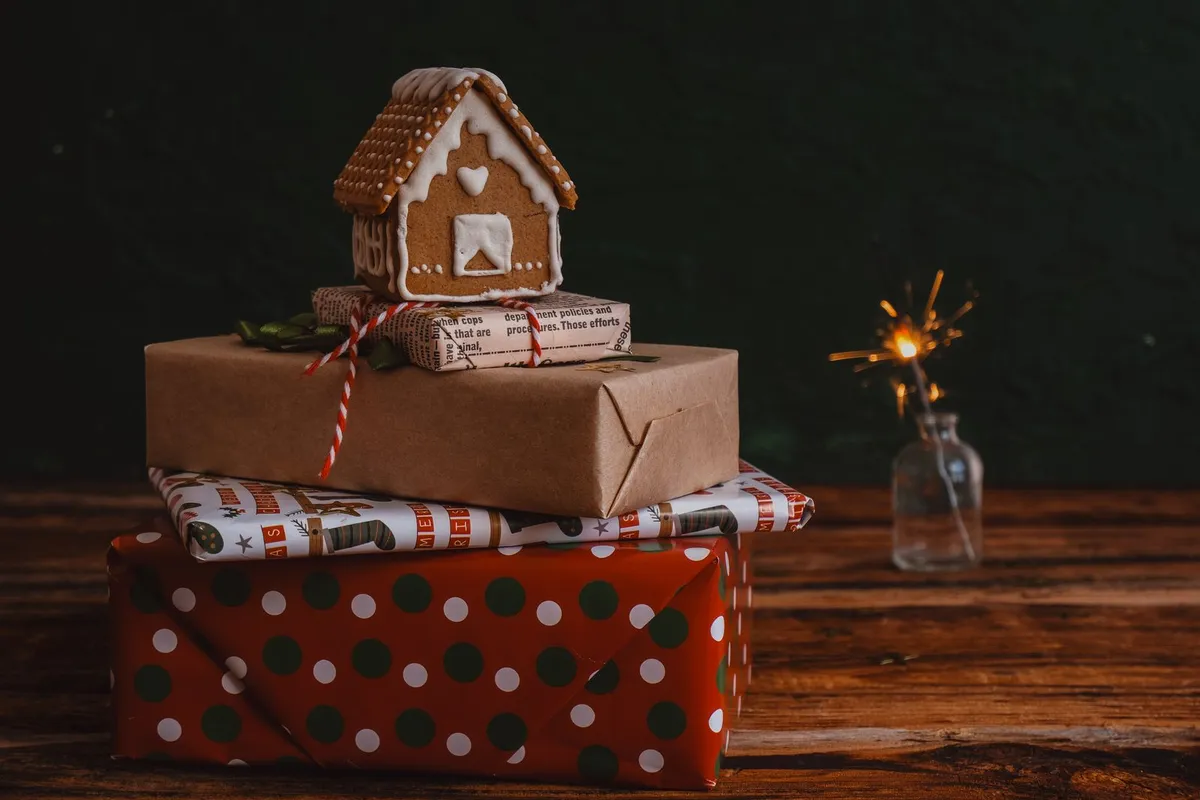
Kids want to wrap too — and if they wrap at your station, your tape, your paper and your patience all run out twice as fast. Set a second, smaller zone at their height: a card table with kid scissors, paper scraps from your roll ends, glue sticks, and the stickers that exist in every house with children. Their gifts for their stuffed animals are just as real to them as yours are to you.
Two supplies make the kid zone peaceful: a roll of paper-lined tape that tears by hand, and pre-cut paper squares roughly 18 by 18 inches — big enough for a book, small enough for small hands to manage alone. The adult station keeps its supplies; the kids get their own assembly line; everyone wraps.
15. The January reset: store it wrapped
The January reset: store it wrapped
Take down the station in ten minutes by storing it the way it works: rolls vertical back into the bin, caddy loaded and lidded (scissors stay in it — future you will thank present you), ribbons on their spools with the ends clipped. The caddy goes on the closet shelf whole, so next December’s setup is literally “carry caddy to table” — a two-minute job instead of a supply hunt.
Leftover paper rolls and ribbon keep perfectly for a year when stored whole and dry; the palette you chose in idea 10 carries over too, which means next December’s only purchases are tape and fresh greenery. That’s the real finish line: a station that gets cheaper and faster every single year you run it.
The Wrapping Math Table
Every supply number for a 30-gift December, so nothing runs out on December 23rd:
| Supply | Per gift | 30 gifts needs |
|---|---|---|
| Wrapping paper | ~5 sq ft (shirt box) | 150 sq ft ≈ 5 rolls of 30 sq ft |
| Ribbon | 3 ft (wrap + bow) | 90–100 ft ≈ 1 large spool |
| Tape | ~2 yards of strips | 3 rolls of 25 yards |
| Gift tags | 1 | 30 + 10 spares |
| Tissue paper | 2–3 sheets (soft gifts) | 1 pack of 100 |
| Table time | 4 min box / 8 min odd | ~3 hours = 10 evenings × 20 min |
Budget: three ways to spend it
| Tier | What you buy | What you get |
|---|---|---|
| Under $30 — the line | One kraft roll, 3 tape dispensers, twine, 30 tags, one caddy | Thirty coordinated gifts, wrapped on schedule, zero hunts |
| Under $75 — the station | Everything above, plus a rolling cart, wired ribbon in two colors, a box stash in 3 sizes | A permanent station with one-way gift flow and real speed |
| Under $150 — the system | Everything above, plus a paper roll organizer, a task lamp and the kid-zone kit | The whole household wraps; the station pays for itself by year two |
The Wrapping Station Checklist — Save All 15
- ☐ Surface at counter height (36"), at least 36" × 24" clear
- ☐ One task light aimed across the surface, not behind you
- ☐ Paper stored vertically, gift-side up, current roll parked out
- ☐ Kraft base roll (100+ sq ft) + max 3 patterned rolls
- ☐ 100 ft ribbon: one neutral + one statement, batch-cut to 3 ft
- ☐ Three clear tape rolls with cutting-edge dispensers
- ☐ Caddy stocked all December: scissors, dispensers, pen, tags
- ☐ Tags pre-written and clipped to the caddy edge
- ☐ Wrap order: boxes → soft goods → odd shapes last
- ☐ One palette: kraft + pattern, natural + accent ribbon
- ☐ Embellishment bin by the station (sprigs, oranges, cinnamon)
- ☐ Staging shelf: wrapped, tagged, stacked largest to smallest
FAQ: Gift Wrapping Station Edition
How much wrapping paper do I need for 30 gifts?
About 150 square feet — roughly 5 standard rolls (30 sq ft each). A shirt-box gift uses around 5 square feet; oversized or soft gifts can take double. Buying a 100-square-foot kraft roll plus two 30-square-foot accent rolls covers thirty gifts with margin, and the leftover rolls carry over to next year if you stick to one color palette.
Where should I set up a gift wrapping station in a small home?
Any counter-height surface (36 inches) with 36 by 24 inches of clear space: the kitchen island, dining table or a card table. Store everything in one rolling cart or caddy that parks in a closet, and keep paper rolls vertical in a bin or a dedicated organizer. The station is the table for three weeks, not a permanent room — mobility beats square footage.
How do I keep wrapping paper from unrolling in storage?
Store rolls vertically, gift-side up, in a bin or organizer — gravity does the work. For individual rolls, a paper towel tube slit lengthwise and clipped around the roll, or a ribbon of masking tape across the seam, keeps paper tight without tearing it. Avoid horizontal bins: every pull unrolls three neighbors.
What’s the fastest way to wrap a lot of gifts?
Run an assembly line: batch-cut ribbon lengths first, wrap boxes before odd shapes, tag and stage each finished gift immediately, and wrap in 20-minute evening sessions rather than one marathon. A stocked station wraps a box gift in about 4 minutes — thirty gifts is three hours of table time, which fits in ten short evenings.
How do you wrap odd-shaped gifts without gift bags?
Box them first. A stash of plain kraft boxes in three sizes converts bicycles-adjacent weirdos into standard boxes — the $15 of boxes turns your ten hardest gifts into ten fast ones. For genuinely unboxable items, roll-wrap (paper around the middle like candy, twisted and tied at both ends) looks intentional and handles any shape.
How can kids help with Christmas wrapping without chaos?
Give them their own zone: a low table, kid scissors, glue sticks, pre-cut 18-inch paper squares and stickers. Hand-tearing tape (paper-lined) avoids scissors-and-tape fumbles, and their gifts — for stuffed animals, grandparents, siblings — wrap on their schedule while your station keeps its supplies. Separate stations, separate supplies, zero battles.
Last updated: November 16, 2026. We do the math so the tape doesn’t run out.
Related Reading
- 15 Christmas Entryway Ideas That Survive December Traffic
- 15 Small Christmas Tree Ideas for Tiny Apartments
- 15 Christmas Stocking Ideas When You Don’t Have a Fireplace
- 15 Christmas Morning Brunch Table Ideas You Set Up the Night Before
- 15 New Year’s Eve Table Setting Ideas That Survive Until Midnight
- 15 Christmas Porch Decorating Ideas That Survive Rain