
The short version
A typical 12×12 bedroom refresh costs $45–$90 in paint and supplies and takes one weekend. Buy 2 gallons for two coats, skip primer unless you are making a dramatic color change, and spend the savings on one good angled 2.5-inch brush — the tool that decides whether the room looks professional or DIY. Wall math: 2×(L×H)+2×(W×H), minus 21 sq ft per door and 15 per window, ÷400 sq ft per gallon, ×2 coats.
I once spent an entire Saturday in the paint aisle and came home with five sample pots, two gallons, and zero walls painted. The total damage hovered around what a small sofa side table costs, and the room still looked beige for another month. The second time around I treated painting like a grocery run — one list, exact quantities, done in a weekend — and the whole refresh, including the second coat, cost less than the first attempt’s sample-pot graveyard.
What nobody tells you is that “painting a room on a budget” is not one question, it is four: a quantity question (how many gallons the walls actually drink), a money question (where $12 well spent beats $12 wasted), a schedule question (what happens Saturday morning versus Sunday afternoon so you are not sleeping under wet paint), and a quality question (which three details make cheap paint read expensive). This page is the arithmetic for all four: the budget table, the gallon math with a working calculator, the spend-and-save list, the primer decision, the hour-by-hour weekend plan, and the mistakes that turn one weekend into three. If the room also needs new curtains to finish the refresh, the rod-height rules in how high to hang curtains are the same weekend’s other job.
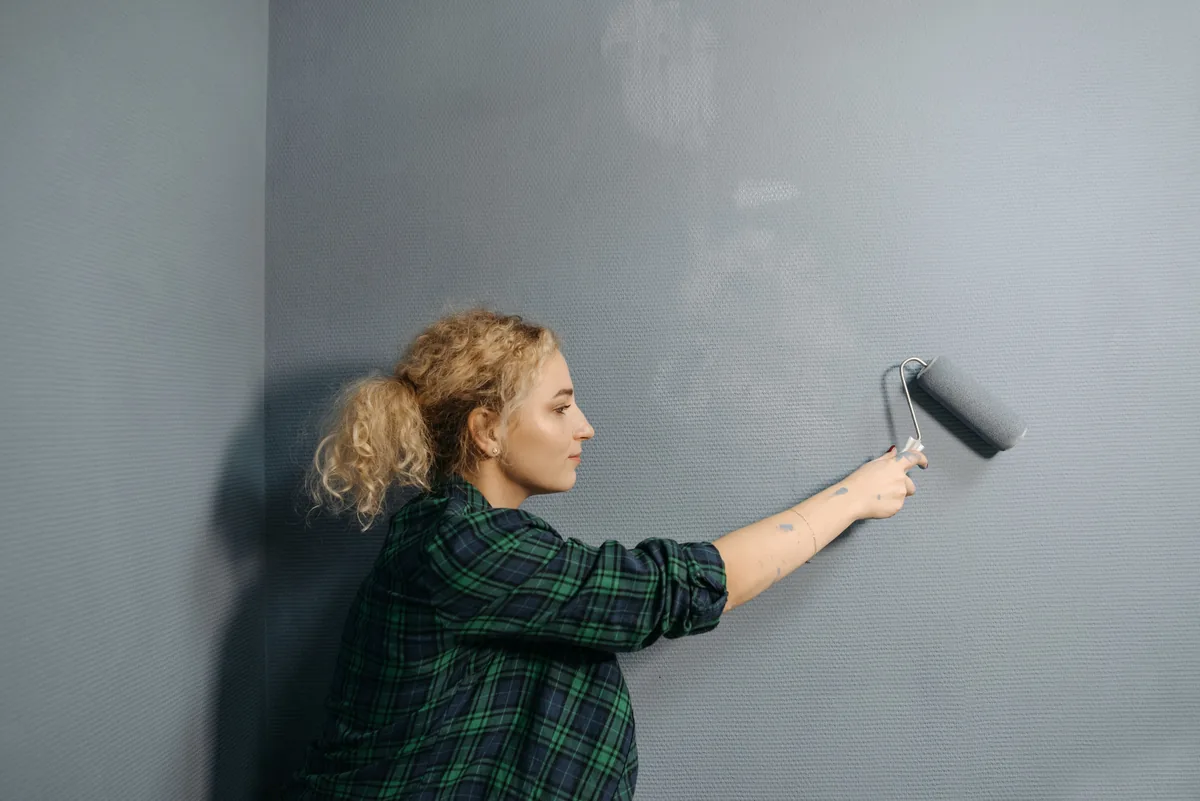
Table of contents
- How much does it cost to paint a room on a budget?
- How many gallons of paint do you need for a 12×12 room?
- Where should you spend and where should you save on painting supplies?
- Do you need primer before painting?
- What is the one-weekend painting schedule?
- How do you cut in paint edges without tape lines?
- What painting mistakes cost you a second weekend?
- Which paint sheen goes in which room?
- How do you test paint colors without wasting money?
- Can you paint over wallpaper or textured walls on a budget?
- How do you store leftover paint and clean the brushes?
- When is hiring a painter cheaper than doing it yourself?
1. The budget breakdown
How much does it cost to paint a room on a budget?
The honest range for an average bedroom is $45–$90 all-in, and the table below shows where every dollar goes. Paint is the smallest lever: two gallons of mid-tier store-brand acrylic run $30–$60 and perform nearly identically to premium lines on interior walls. The budget killer is not the paint can — it is buying premium everything else and tripling the supplies you will never use again. Reusable items (brush, roller frame, drop cloth) are the only category where spending more saves money, because they amortize across every future room.
| Item | Budget | Reused next room? |
|---|---|---|
| Paint, 2 gallons mid-tier acrylic | $30–$60 | Leftover ½ gallon touches up scuffs |
| Angled 2.5-in sash brush | $12–$18 | Yes — the decade purchase |
| Roller frame 9-in + 2 covers (3/8-in nap) | $10–$16 | Frame yes; covers are consumables |
| Canvas drop cloth 9×12 | $15–$25 | Yes — outlives the decade |
| Painter’s tape roll | $5–$8 | No |
| Spackle + putty knife | $6–$10 | Yes |
| Tray + 2 liners | $5–$9 | Tray yes; liners no |
2. The paint math
How many gallons of paint do you need for a 12×12 room?
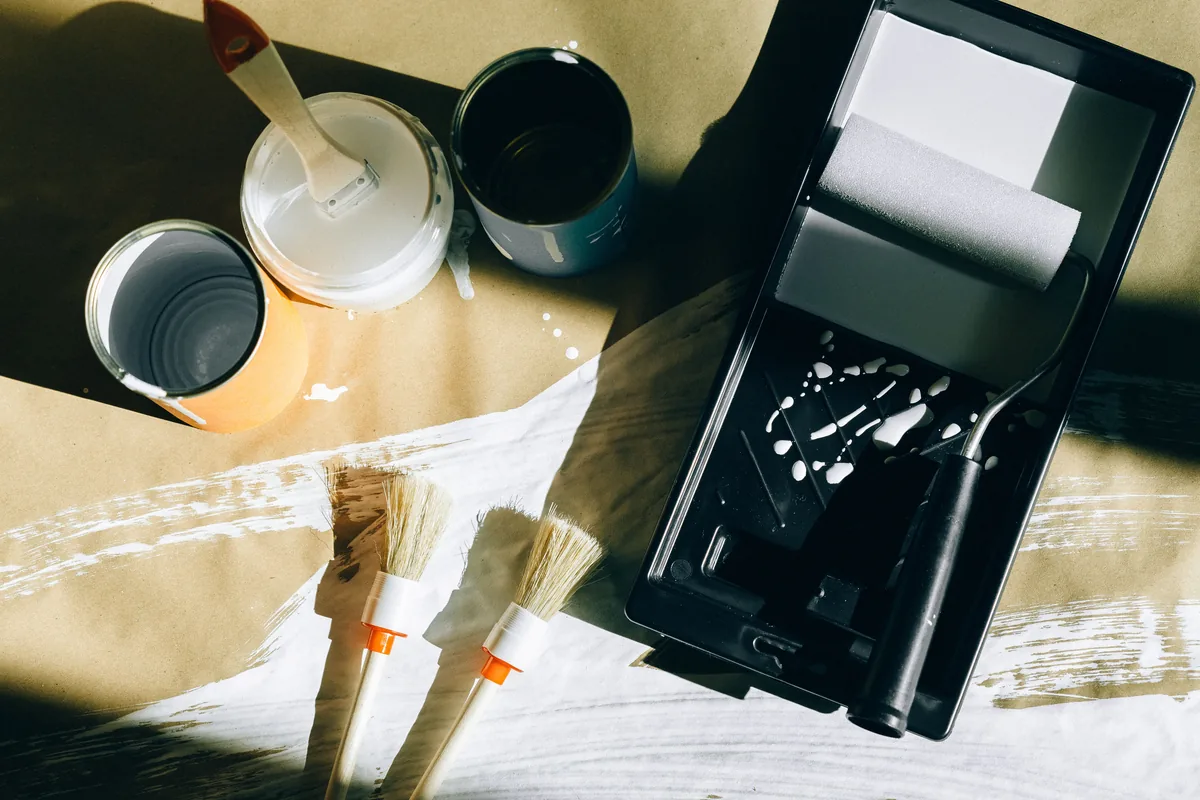
The formula: wall area = 2×(length×height) + 2×(width×height), minus about 21 sq ft per door and 15 sq ft per window. Multiply by coats and divide by 400 sq ft per gallon — the coverage number printed on every can. A 12×12 room with 8-foot ceilings works out to roughly 339 sq ft of wall, which is 1.7 gallons at two coats, so you buy 2 and keep the receipt: unopened cans return without drama at most big-box stores. Buying “a little extra to be safe” is how garages everywhere end up running half-gallon museums.
| Room | Wall area (8-ft ceiling) | Gallons at 2 coats | Buy |
|---|---|---|---|
| 10×10 bedroom | ≈283 sq ft | 1.4 | 1 gal + 2 quarts |
| 12×12 bedroom | ≈339 sq ft | 1.7 | 2 gallons |
| 12×15 living room | ≈411 sq ft | 2.1 | 2 gallons + 1 quart |
| 15×20 open room | ≈539 sq ft | 2.7 | 3 gallons |
Paint calculator
Wall area:
Paint for all coats:
Buy:
Want doors, windows and ceiling counted individually, plus a full room-size chart? That’s the Paint Coverage Calculator.
3. Spend and save
Where should you spend and where should you save on painting supplies?
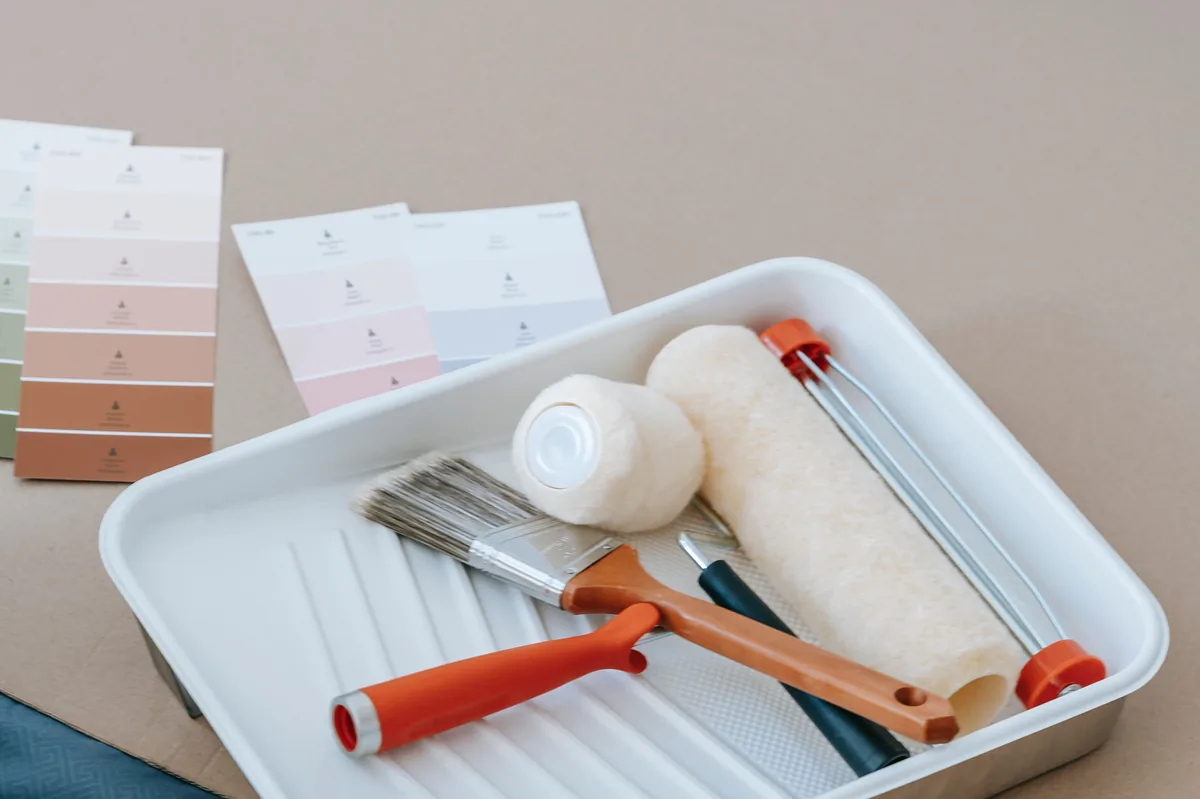
The whole list splits into three verdicts, and the logic is simple: anything that touches the wall a thousand times (brush, roller frame) or outlives the project (drop cloth) is a spend; anything consumed by the job (roller covers, tape, tray liners) is a save; paint itself sits in the middle because mid-tier store brands are chemically close to premium for interior walls. The one thing never to cheap out on is the angled brush — it is the single tool that decides cut-in quality, and a good one cleans up for years.
| Item | Verdict | Why |
|---|---|---|
| Angled 2.5-in brush | Spend ($12–18) | The single tool that decides cut-in quality; cleans up for years |
| Canvas drop cloth | Spend ($15–25) | Reusable, doesn’t slide like plastic; resale-worthy rental saver |
| Paint | Save | Mid-tier store brands perform near-identically for walls |
| Roller covers | Save | 3/8-in nap, buy multipacks — they’re consumables |
| Painter’s tape | Mid | Blue tape fine for walls; upgrade only for textured surfaces |
| Paint tray liners | Save | Or skip: line the tray with foil |
As an Amazon Associate, we earn from qualifying purchases.

- One kit clears half the table above at once: two 9-inch covers, four 4-inch minis, both frames, the tray and two liners — the “buy consumables in multipacks” save, pre-bundled
- The threaded 3-foot pole reaches ceilings and high walls without renting or climbing a ladder, so the labor line of the budget stays at zero
- Can opener and stirrer ride along too, which means the supply-run list in idea 1 ends as one checkout instead of five
Listed price varies; check the current price on Amazon.
4. Primer or not
Do you need primer before painting?
Primer is a $15–$25 question, and the answer is a table, not a feeling. Clean walls being repainted a similar color need no primer at all — two finish coats cover completely. The cases where primer earns its cost are dramatic color changes (dark to light), stains or smoke damage, fresh drywall, and glossy surfaces that would otherwise reject the new coat. The budget trick for dark-to-light changes is a tinted primer — primer tinted toward the new color — which usually costs less than a third finish coat and always covers better.
| Situation | Primer? | What to do instead |
|---|---|---|
| Similar color, clean walls | No | Two finish coats |
| Dark navy to off-white | Yes | Tinted primer coat, then 2 finish coats |
| Stains, smoke, marker on wall | Yes | Stain-blocking primer, spot first |
| Fresh drywall or patching | Yes | Full primer coat seals the porosity |
| Glossy paint or tile-like surface | Yes | Bonding primer, or degloss with sanding |
| Bare wood trim | Yes | Wood primer, then 2 finish coats |
5. The weekend schedule
What is the one-weekend painting schedule?
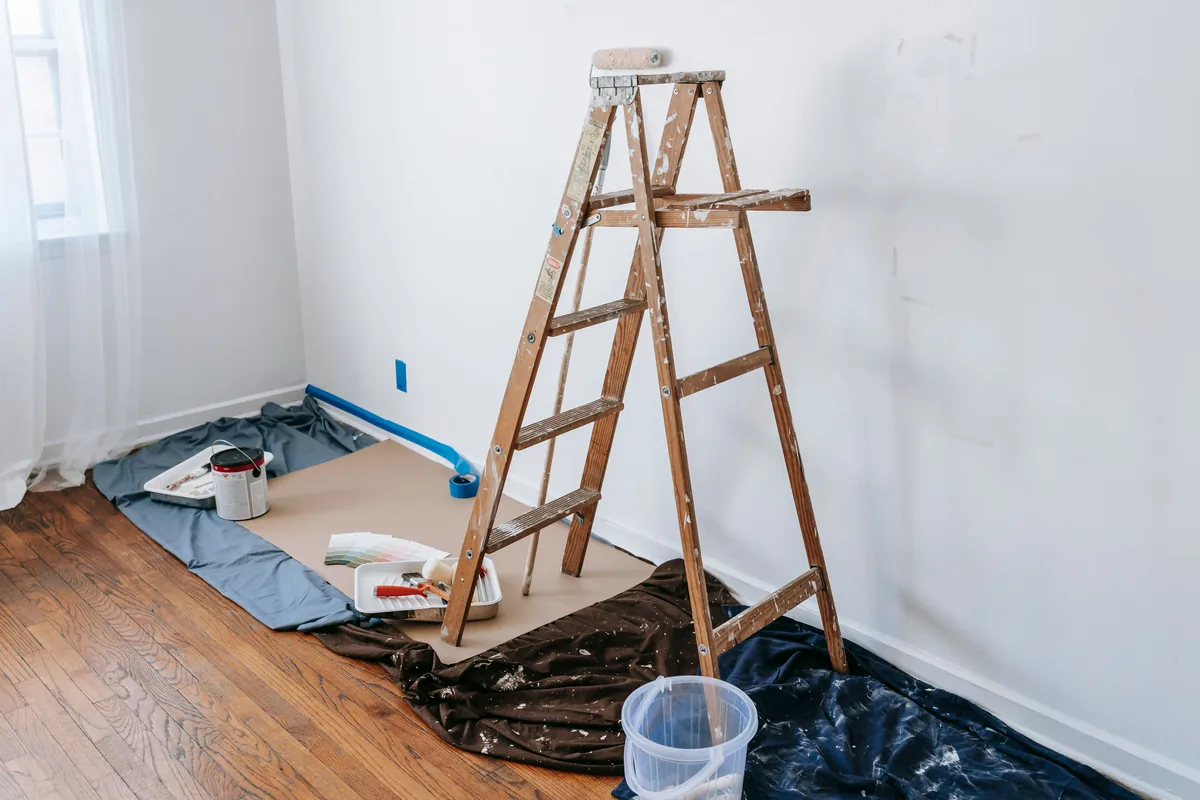
The weekend works because every step has a slack window built in: the four-hour recoat time on Saturday afternoon is when you eat lunch and leave the house, and Sunday’s only job is the second coat and cleanup. If the refresh energy is still flowing on Monday, the weekend-sized projects in christmas entryway decor ideas start at the freshly painted front wall. The mistake that breaks the schedule is doing the whole room’s cut-in at once — edges dry while you roll the middle, and the seam shows. Work one wall at a time: cut in that wall, roll that wall, move on.
| When | Task | Time |
|---|---|---|
| Saturday morning | Move furniture to center, cover floor with canvas, spackle nail holes, wipe walls down | 60–90 min |
| Saturday midday | Cut in edges with the angled brush, one wall at a time, roll while wet | 45–60 min |
| Saturday afternoon | Roll first coat top-down, then leave — the room needs 4+ hours anyway | 60 min + dry |
| Sat night or Sun morning | Second coat, same order: cut in one wall, roll it, move on | 60–90 min |
| Sunday afternoon | Remove tape slowly at an angle, re-hang outlet covers, touch-ups, admire | 45 min |
6. The cut-in
How do you cut in paint edges without tape lines?
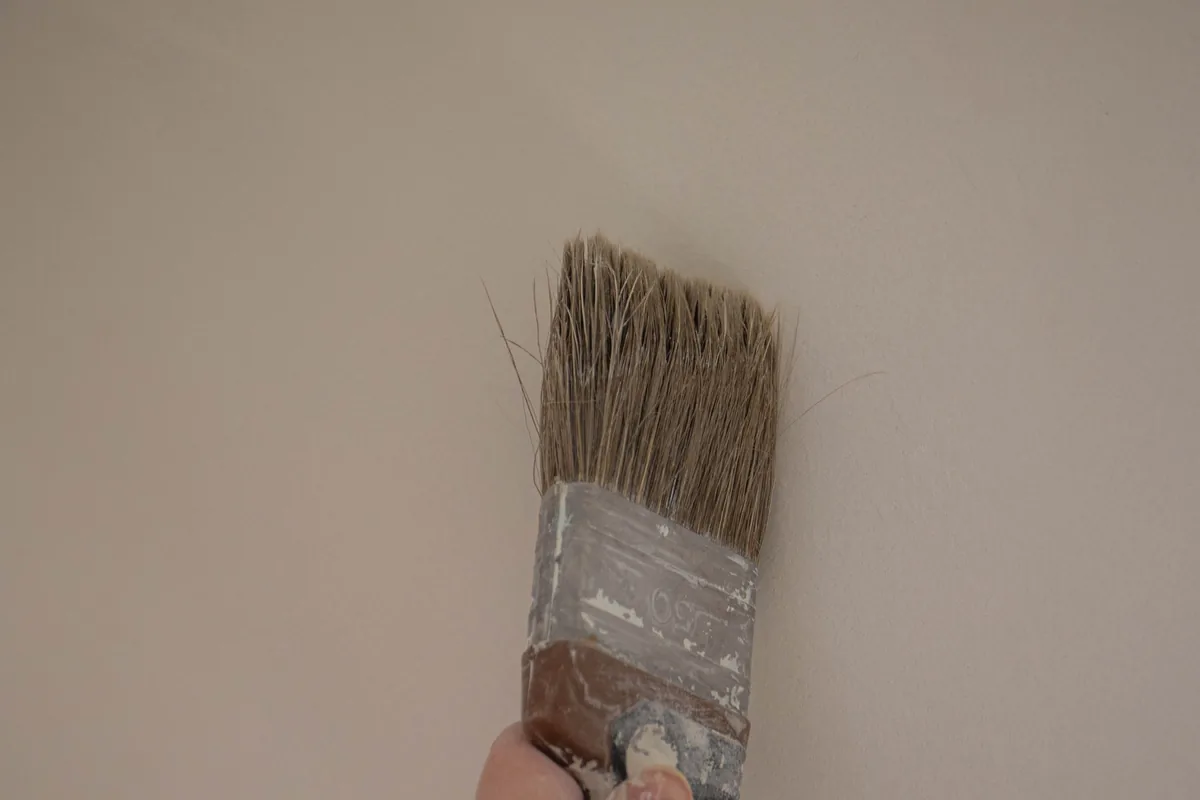
Tape is a training wheel, and on smooth walls a good angled brush beats it — tape leaks, and peeling it at the wrong moment tears the line you were protecting. The technique: load the angled brush’s last third, lay the bristle edge into the corner at a 45-degree angle, and drag a 3-to-4-inch band along the edge in one pass, tipping the brush so the long bristles do the steering. Then immediately roll the wall while the cut-in is wet. Work one wall at a time so the band never dries before the roller arrives.
| Edge situation | Method | Why |
|---|---|---|
| Wall meets smooth wall | Angled brush, no tape | A steady hand is faster and cleaner than tape |
| Wall meets textured ceiling | Tape, pressed with a putty knife | Texture makes a straight brush line impossible |
| Around trim and casings | Angled brush, feather the band | Tape on trim pulls the finish if left |
| Where wet band must wait | Only then: tape | Dried cut-in under a rolled coat shows as a frame |
As an Amazon Associate, we earn from qualifying purchases.

- Three angled sash brushes (1.5, 2 and 2.5 inch) cover every cut-in band from the table above — the 2.5-inch “spend” verdict, with the smaller sizes for tight casings
- Angled bristles lay the 45-degree line in one pass; soft synthetic filament holds paint, releases evenly and sheds no hairs into the wet band
- Smooth wood handles and an indoor-outdoor rating mean the same set cuts in the next room and stains the fence — the tool that cleans up for years, as promised
Listed price varies; check the current price on Amazon.
7. The mistakes
What painting mistakes cost you a second weekend?
Every one of these five mistakes is a weekend-extender, and four of them cost nothing to avoid. The pattern behind them is the same: painting is 70% preparation, and the mistakes all happen when preparation gets skipped to “get to the fun part.” The dust-under-paint problem is the sneakiest — you will not see it while painting, and then every wall reads bumpy under lamplight for years.
| Mistake | What it costs | The fix that costs nothing |
|---|---|---|
| Skipping wall washing | Bumps under every light you turn on | Damp microfiber pass, 15 minutes |
| Cutting in the whole room at once | Dried edges show as a visible frame | One wall at a time, roll while wet |
| Second coat too soon | Roller peels the first coat off | Respect the can’s recoat time (usually 4 h) |
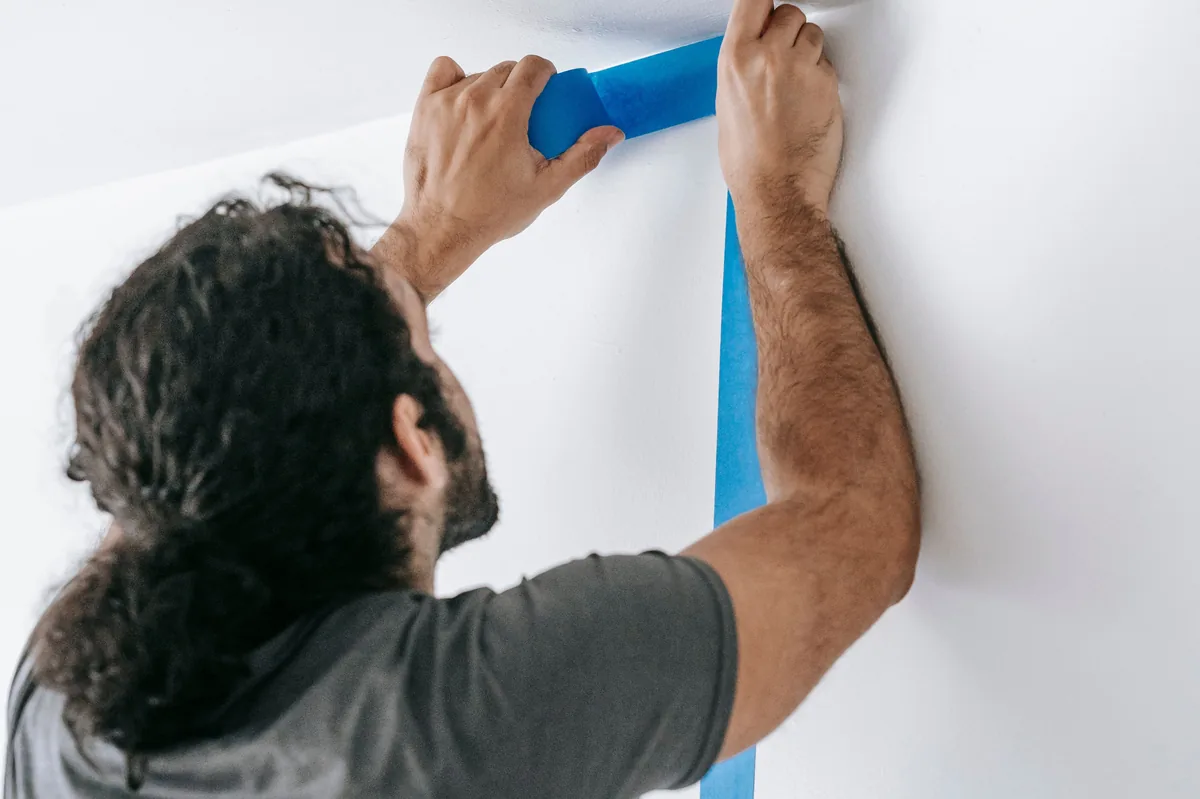
| Tape peeled too late | Tears the paint line it was protecting | Peel within an hour of the final coat |
| Measuring in aisle 7 | Wrong quantity, second store run | Calculate before you leave the house |
8. The sheen map
Which paint sheen goes in which room?
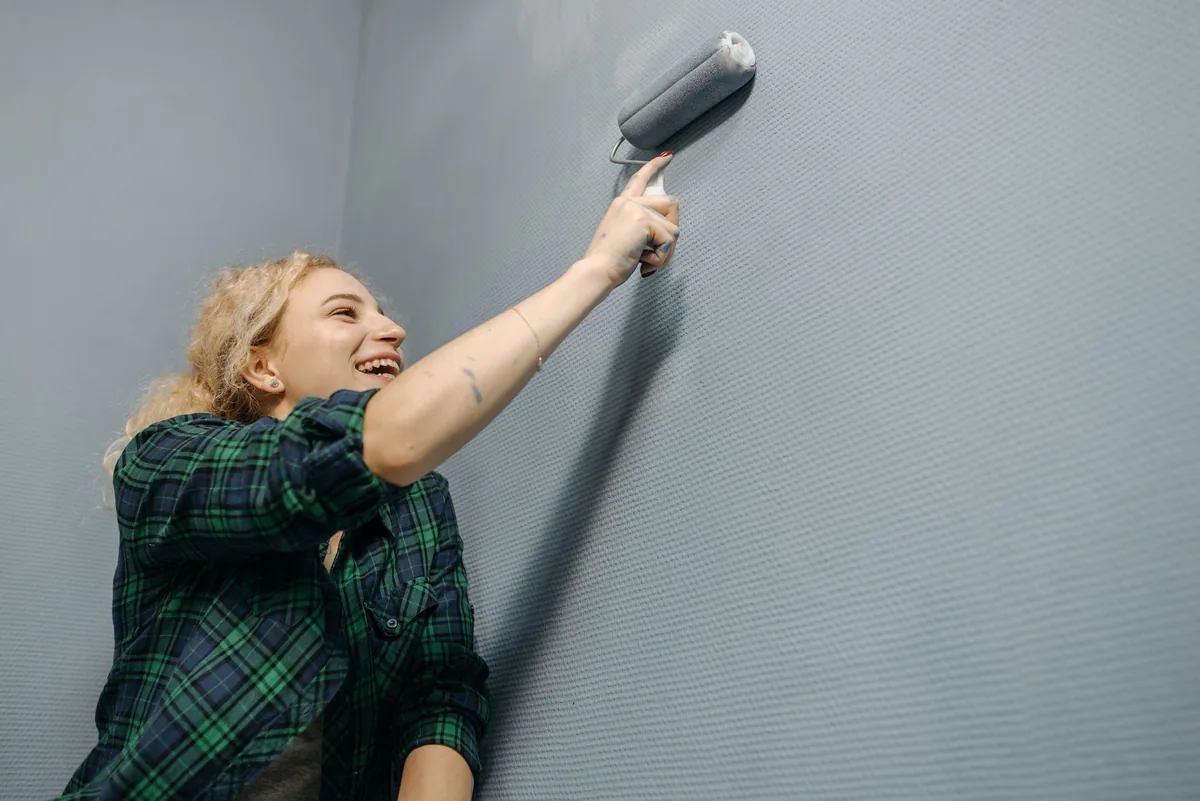
Sheen is free money in a budget refresh — the same color in the right sheen reads more expensive, and in the wrong sheen reads like a rental emergency. The logic is durability: the more a wall gets touched, washed, or steamed, the more sheen it needs. Flat in a hallway is a smudge magnet; high-gloss in a bedroom is a funfair. Eggshell and satin cover 90% of domestic life.
| Room | Sheen | Why |
|---|---|---|
| Bedroom, living room ceiling | Flat / matte | Hides imperfections; nothing touches it |
| Living room, dining room walls | Eggshell | Wipeable, low reflection |
| Hallway, kids’ rooms | Satin | Survives fingerprints and scrubbing |
| Kitchen, bathroom walls | Satin / semi-gloss | Steam and grease wash off |
| Trim, doors, baseboards | Semi-gloss | Hard finish; pops against eggshell walls |
| Cabinets, banisters | Gloss | Maximum durability; shows wall flaws, so trim only |
9. Testing colors
How do you test paint colors without wasting money?
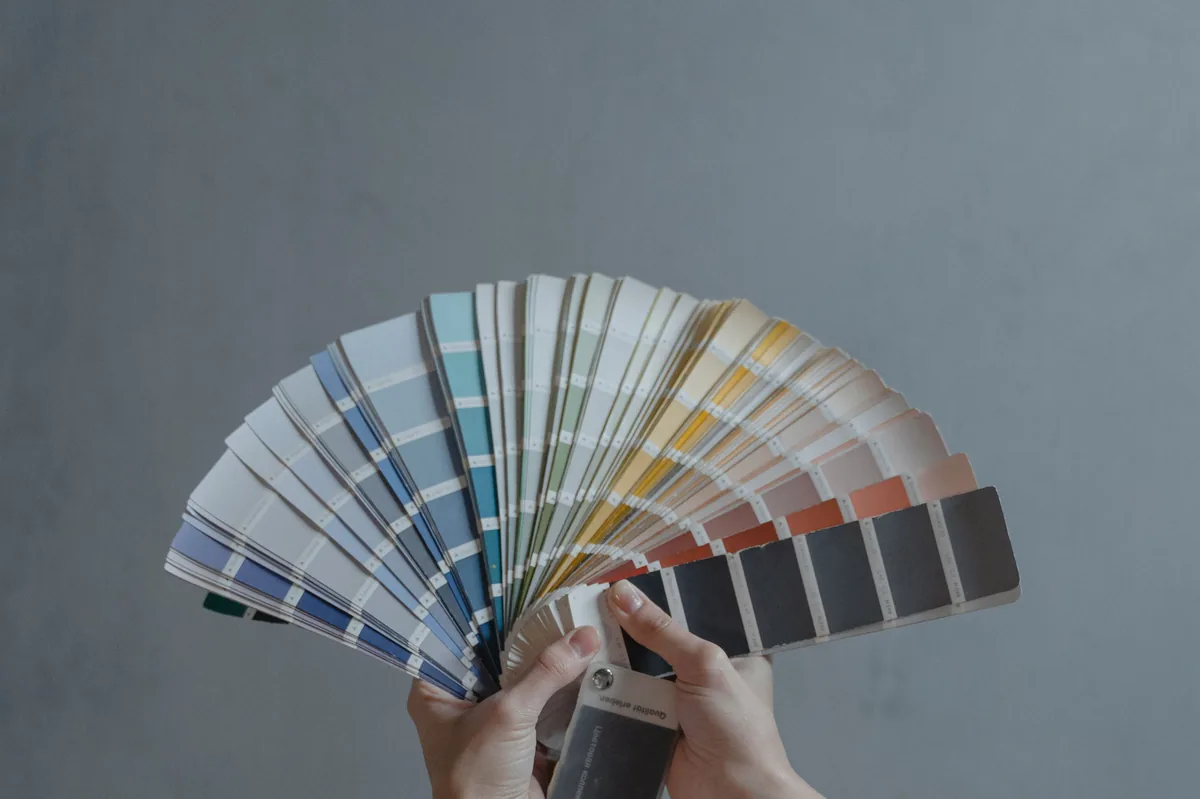
The five-sample-pots mistake from my first attempt has a fix that costs $0: every paint store sells large paper color chips free, and most brands publish their colors in Peel-and-Stick form for a few dollars. If you do buy samples, paint them on a 2×2-ft piece of cardboard, not directly on the wall — then move the board around the room at different times of day. The color that looks perfect at noon reads gray at 7 PM under lamplight, and a board tells you that before it is 300 square feet of permanent. The undertone test matters most against everything already in the room — the layering examples in cozy fall living room ideas are a working palette to borrow from.
| Test method | Cost | What it actually shows |
|---|---|---|
| Paper chip from the store | $0 | Direction; too small to judge undertones |
| Sample pot on cardboard, moved around | $6–$8 | True color at every hour; my default |
| Sample painted directly on the wall | $6–$8 | Real, but leaves a bump you must re-coat over |
| Peel-and-stick brand samples | $3–$5 each | Real paint, reusable, but brand-limited |
10. Awkward surfaces
Can you paint over wallpaper or textured walls on a budget?
Both are doable, and both are where budgets quietly explode if you pick the wrong method. Wallpaper: if it is intact and adhered, paint it directly with a bonding primer — stripping it can damage the drywall and turns a $60 weekend into a $300 repair. If it is peeling at seams, it must come off, there is no paint that hides a lifting seam. Textured walls (orange peel, knockdown): a 3/4-inch roller nap fills the texture, and tape is mandatory because the brush line cannot follow the bumpy edge.
| Surface | Verdict | Method |
|---|---|---|
| Wallpaper, intact and adhered | Paint it | Bonding primer, then 2 finish coats |
| Wallpaper, peeling seams | Strip it | Scorer + stripper solution; repair drywall first |
| Orange-peel texture | Paint it | 3/4-in nap roller, tape all edges |
| Knockdown / heavy texture | Paint it | 3/4–1-in nap; expect 20% more paint |
| Brick or exposed block | Paintable | Masonry primer + 1–2 coats; budget doubles |
11. Cleanup and storage
How do you store leftover paint and clean the brushes?
Cleanup done the same evening is the difference between tools that last a decade and tools that harden into sculpture. Water-based paint: brushes wash with warm water and a drop of dish soap until the water runs clear, then hang or lay flat to dry. Leftover paint keeps longest with the rim wiped, the lid tapped down tight, and the can stored upside down — the skin that forms ends up on what is now the bottom. Latex paint lasts 2–10 years stored this way; the half gallon you return-or-keep becomes the scuff-touchup bottle for the room.
| Item | Shelf life stored well | The trick |
|---|---|---|
| Latex paint, sealed can | 2–10 years | Wipe rim, tap lid tight, store upside down |
| Latex paint, opened & resealed | ≈2 years | Same; pour into a jar for touchups |
| Angled brush, cleaned same day | Years | Warm water + dish soap until water runs clear |
| Roller covers | Single use | Bag the wet one overnight for coat 2, then bin it |
| Paint can for disposal | — | Empty, dry out with cat litter, check local rules |
As an Amazon Associate, we earn from qualifying purchases.

- Spins water and solvent out of a washed brush in seconds — the “water runs clear, then hang to dry” step finished properly instead of dripped dry on the sink edge
- Works on brushes and rollers alike: dip, spin, repeat until the spinner runs clean, and the bristles keep their shape for a decade of touchups
- Cleaning between coats, not just after, is what extends tool life — bag the wet roller overnight for coat 2, spin the brush, and both survive to the next room
Listed price varies; check the current price on Amazon.
12. DIY versus hiring
When is hiring a painter cheaper than doing it yourself?
A professional room repaint runs $300–$700 depending on city and prep, so the DIY route saves labor on almost every standard bedroom. Hiring wins in three specific cases: ceilings higher than 10 feet (scaffolding rental erases the savings), serious wall repair (drywall skim-coating is a skill, not a chore), and woodwork-heavy rooms where trim lacquer work separates good from amateur. For everything else, the $45–$90 supply bill is the whole cost, and the payback is a skill you keep.
| Situation | DIY cost | Pro cost | Call |
|---|---|---|---|
| Standard bedroom, sound walls | $45–$90 | $300–$500 | DIY, clearly |
| Living room with wainscoting | $90–$150 | $500–$700 | DIY, one extra day |
| Cathedral ceiling / stairwell | $150 + scaffold rental | $600–$900 | Hire — the ladder math loses |
| Walls needing skim-coat repair | $100 + learning curve | $700–$1,000 | Hire — repair is the skill |
| Rental refresh before move-out | $45–$90 | $300–$500 | DIY — deposit math |
The one-weekend paint checklist
- ☐ Room measured and gallons calculated before the store run
- ☐ 2 gallons bought, receipt kept for the unopened-can return
- ☐ Walls washed, nail holes spackled, floor covered with canvas
- ☐ Sheen chosen per room: eggshell walls, satin wherever hands and steam live
- ☐ Color tested on cardboard at noon and at 7 PM lamplight
- ☐ Cut-in one wall at a time, rolled while wet
- ☐ Recoat window respected: 4 hours between coats
- ☐ Tape peeled within an hour of the final coat
- ☐ Brushes washed the same evening; leftover paint sealed, rim wiped, stored
Written by Emily, who owns five half-gallon cans from her sample-pot era and has promised them to a community theater that owes her a favor. Last updated: November 2026.
Related reading
- Paint Coverage Calculator: doors, windows and ceilings counted individually
- How High to Hang Curtains: the same weekend’s other 30 minutes
- Cozy Fall Living Room Ideas: what to do with the fresh walls
- Christmas Entryway Decor Ideas: the next weekend-sized project
- Christmas Stockings With No Fireplace: what to hang on the new walls
- Christmas Gift Wrapping Station: the other budget-DIY build